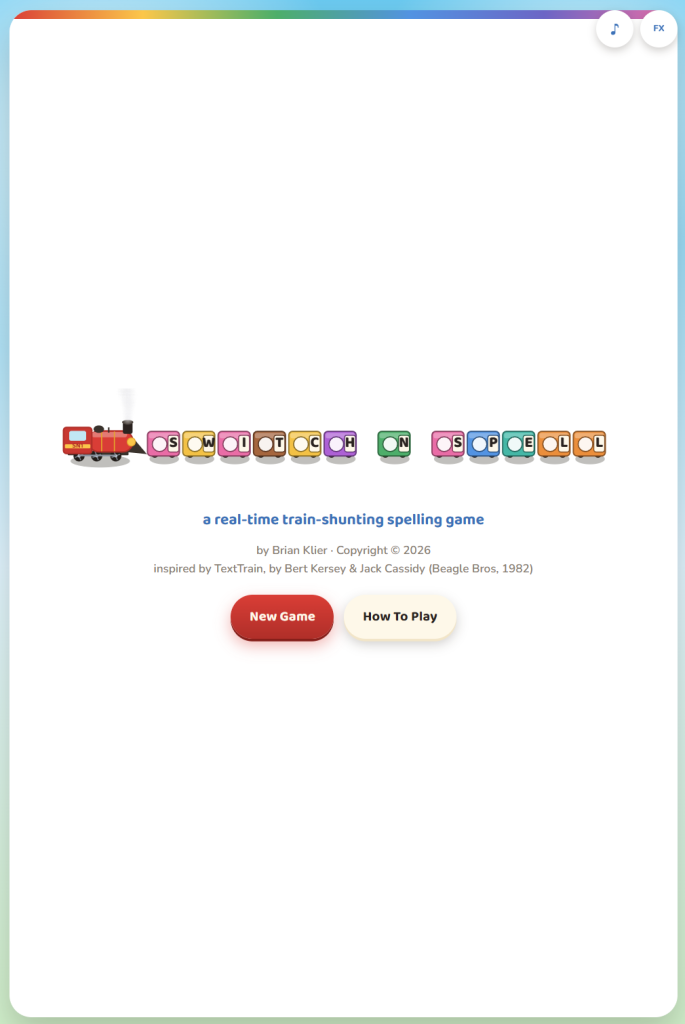
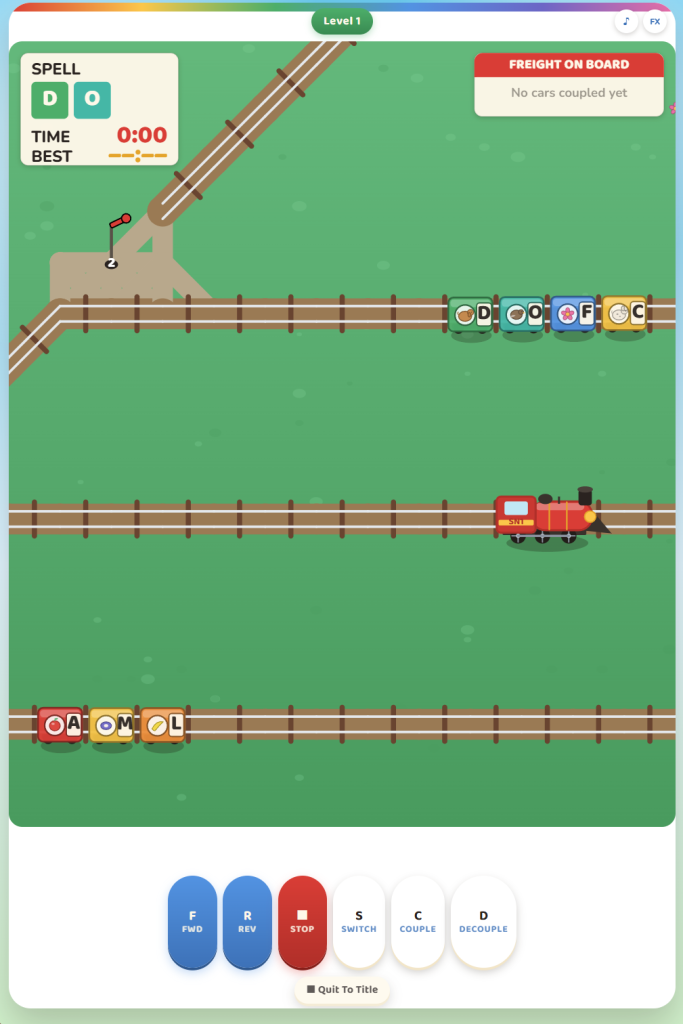
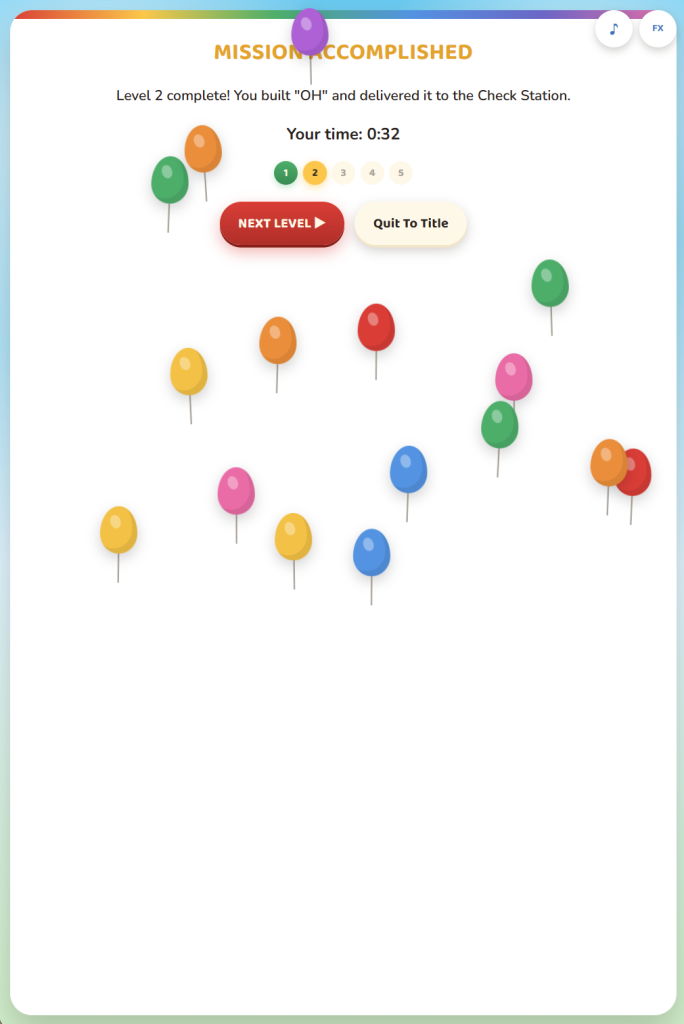
A real-time train-shunting spelling game by Brian Klier, inspired by TextTrain (Beagle Bros, 1982).
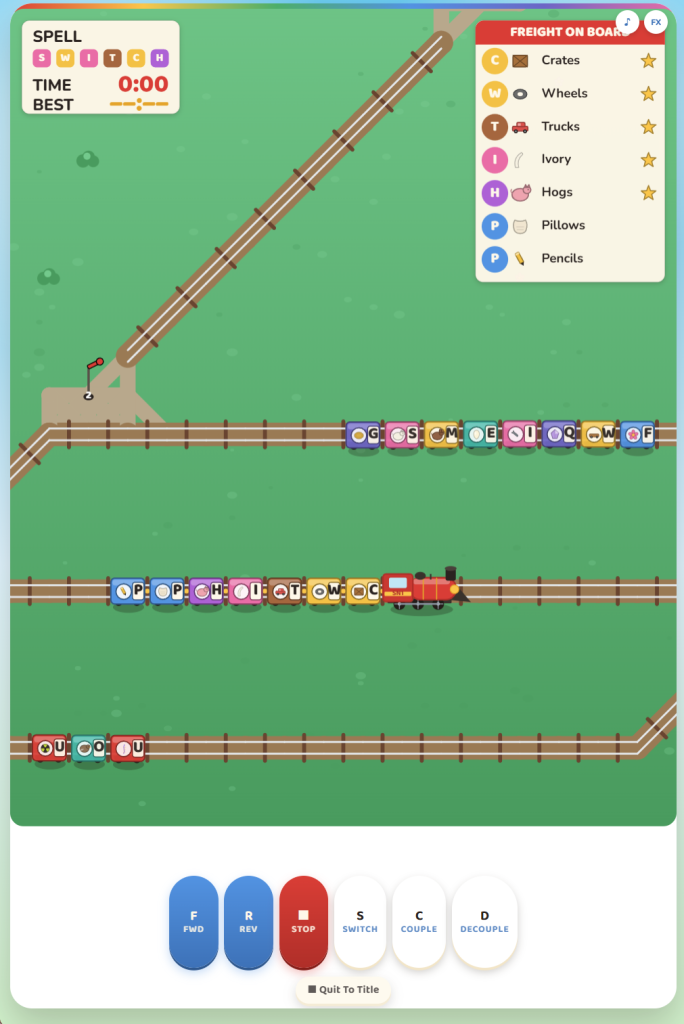
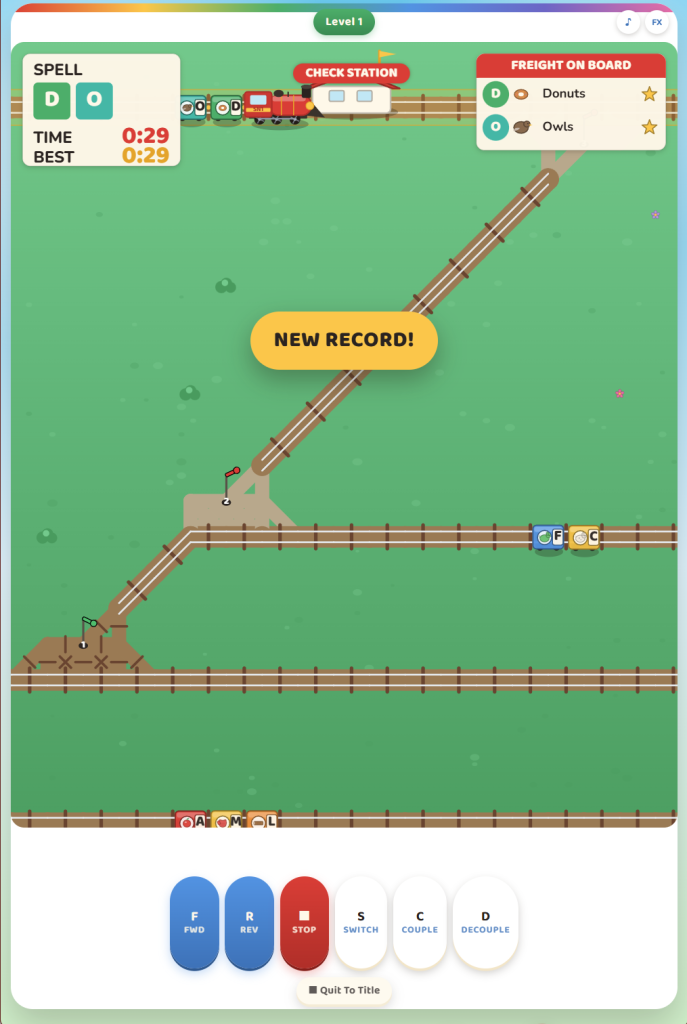
Finish spelling a word which has its letters scrambled among freight cars scattered around a track layout. Drive your engine, throw switches, and couple up the right cars in the right order, then haul them to the Check Station for vindication. Ram a car with the front of your engine, hit a closed switch, or run off the end of a siding, and you derail.
Available now for FREE as a safe Progressive Web App on all Android, iOS, Mac, and PC platforms! Coming soon to the Google Play Store.
If you enjoy playing word games on your phone, tablet, or computer, that make you really think, I “think” you might enjoy this game. Please let me know your thoughts if you try it out!
I couldn’t resist picking up this $21 solar automatic drip irrigation system from Amazon (https://www.amazon.com/dp/B0B8DLV7QV) to handle watering the flowers on the deck while we’re gone on trips.
I’ve had this for a few weeks now, and it’s been working better than I had hoped!
For the amount of flowers and planters I have, I ordered 2 of the expansion kits (https://www.amazon.com/dp/B0BJDX195H) to give me enough hose, T connectors, and drip rods to get the job done.
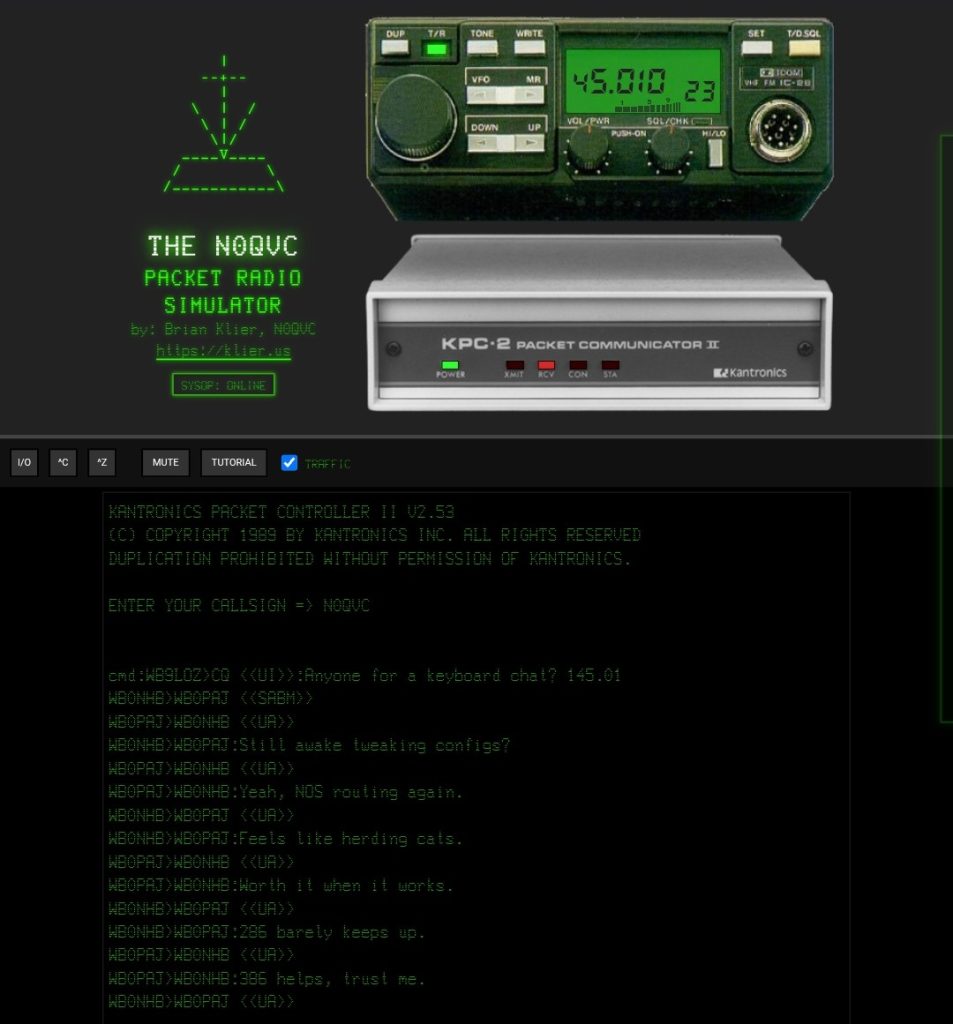
In the late 1980s and early 1990s, before most people had Internet, amateur radio operators were using something called packet radio to deliver electronic mail, emergency traffic, and technical bulletins around the world.
And they were doing it all wirelessly.
The N0QVC Packet Radio Simulator is an effort to tell that story and remember the individuals and organizations that made it all possible. A tutorial guides you through what it was like to navigate that old AX.25 network, and you get to hear the 1200bps AFSK modulated data, see shared communications on frequency, and interact with an electronic bulletin board system from that era.
Learn how messages were store-and-forwarded, and hop from node to node to see how long of a chain you can create before it all comes crashing down. If you actually had a hand in the old network, you might just be taken down memory lane.
You will likely run into bugs since there are a lot of moving parts to replicate the feel of those archaic but beautiful systems in a single web browser window. Bugs and glitchy elements were certainly a part of the old packet systems too! Using Google Chrome on a PC or Mac will give you the best experience, but mobile devices are compatible too.
If you have pictures of your old packet BBS setups, please, send them over to me so I can include them in elements of the presentation! My goal is to preserve the feel and the accomplishments of this period of computing.
Please follow me on social media by visiting the links at the top of this page, and be sure to let me know what you think!
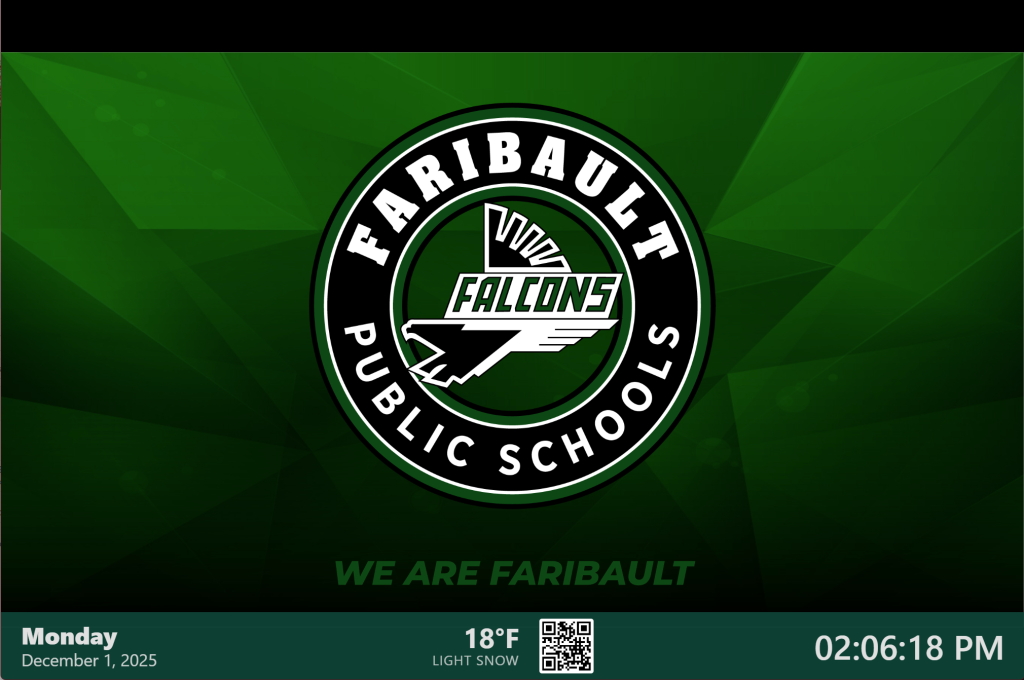
A lot of schools and businesses use the free Chrome Sign Builder created by Google, which, because it is a Chrome App, is slated to be deprecated by the middle of 2026 (except for long-term support). I used Google Gemini 3 Pro to vibe code an alternative in about an hour, which is suitable for organizations that use Google Slides as the “meat and potatoes” of their slide presentation, and used Chrome Sign Builder as a wrapper. Feel free to use this yourself and customize it as you see fit, and share it to anyone else that might find this useful.
Go to the project page to view the code and instructions on how to deploy it.
The code creates a digital signage display that layers a clock, weather information, and a QR code over a Google Slides presentation. It also includes a background music player.
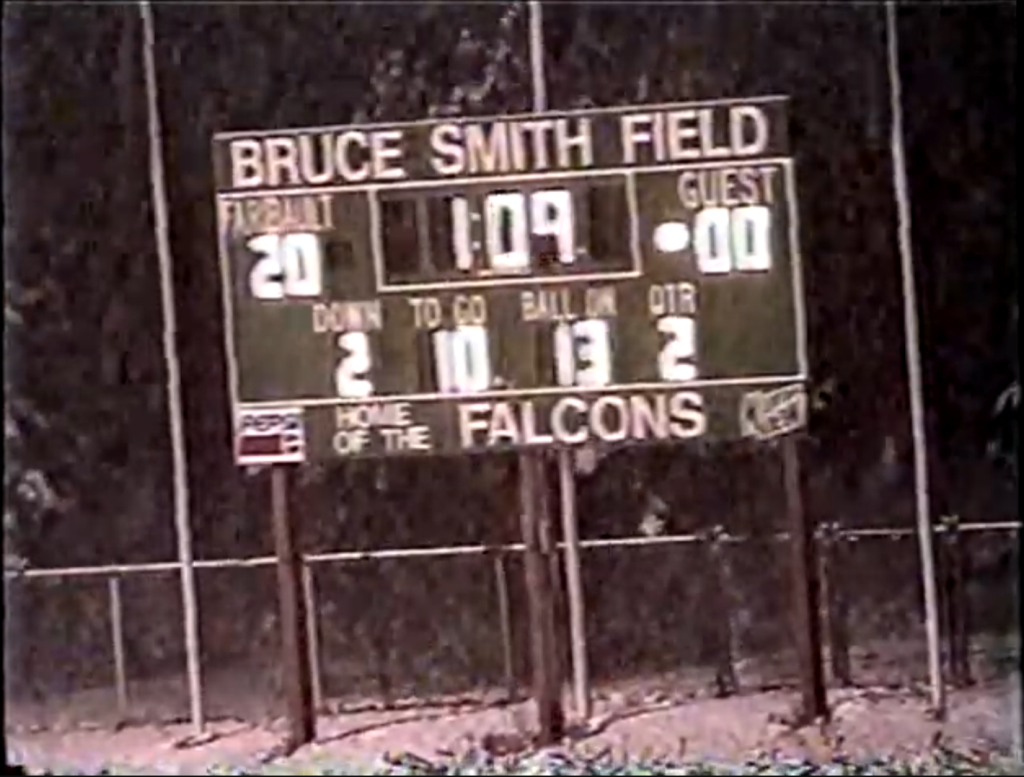
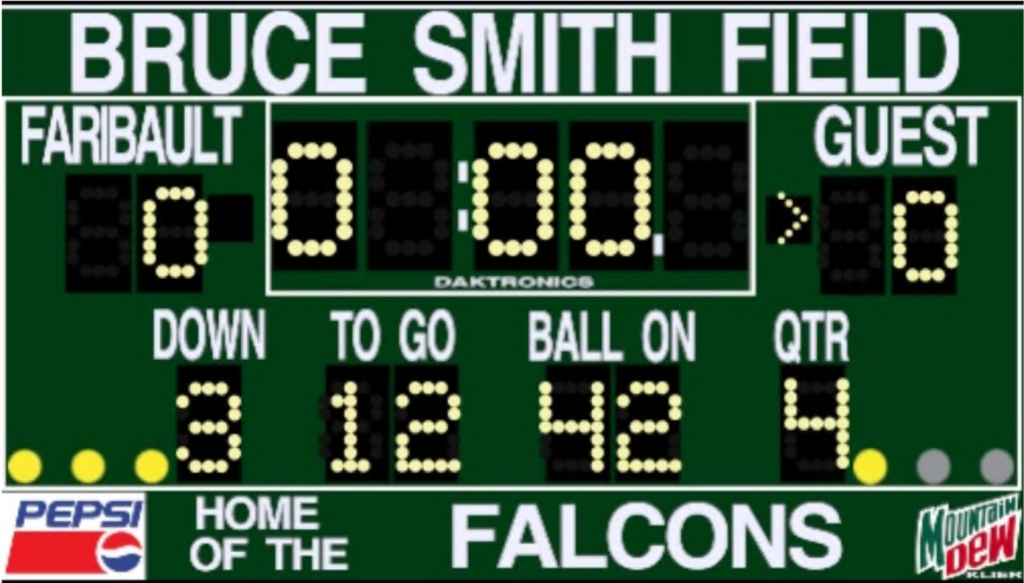
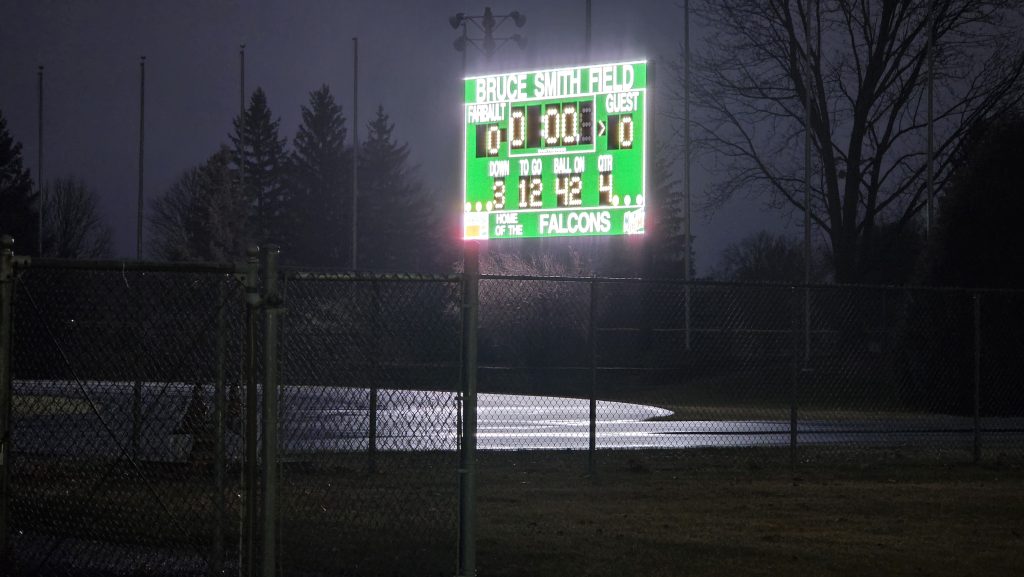
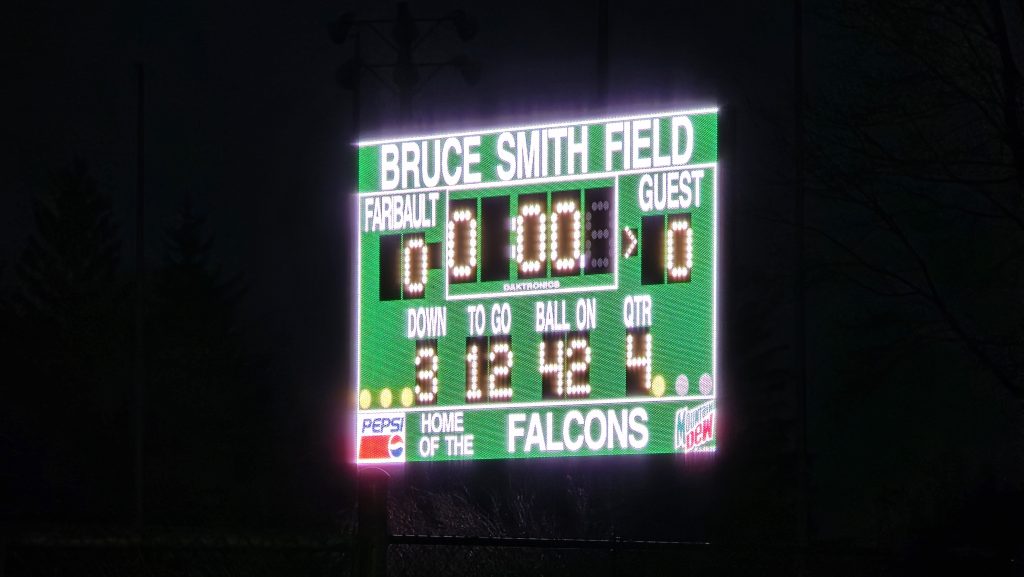
This vintage scoreboard is a work-in-progress. And it’s not really a vintage scoreboard, but it’s a work-in-progress trying to make it look like one!
It seems that every year, at least one baseball, football, or other sport has a “retro” game, where everything is like a step back in time. I thought, wouldn’t it be cool if I could take our High School’s 2021-era Daktronics 15mm HD 25′ x 14 1/2′ video display, and turn it into our former scoreboard for a night?
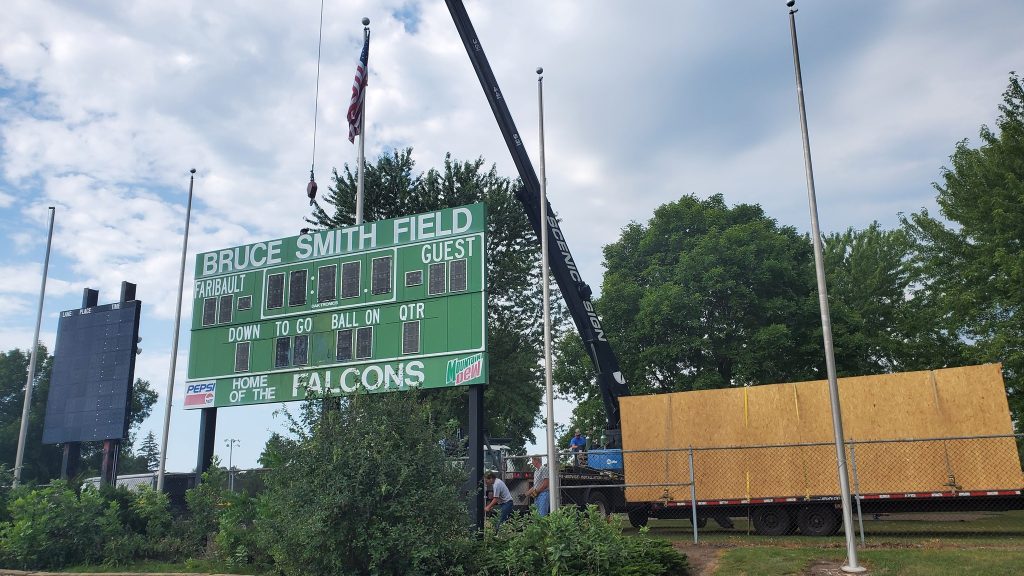
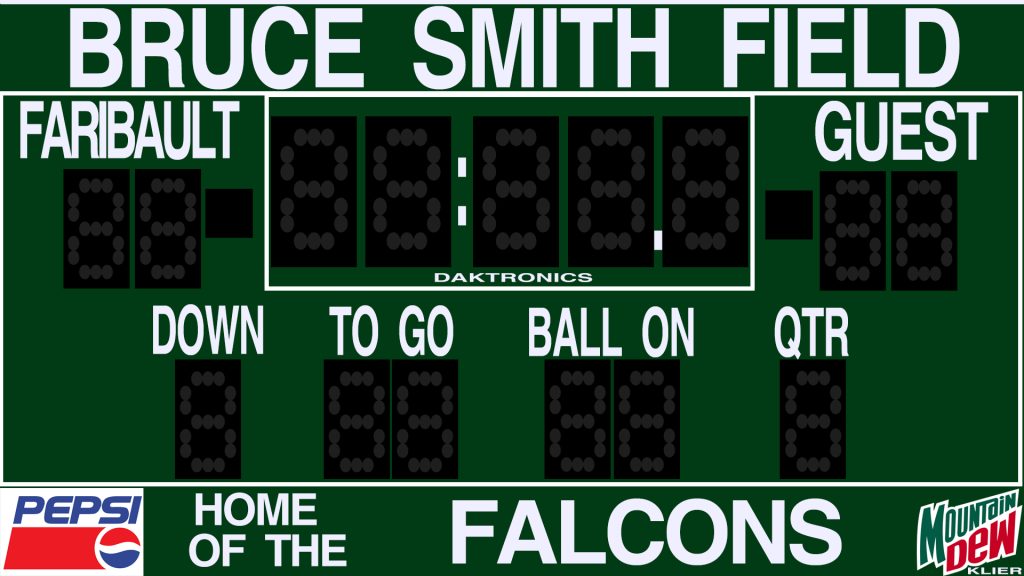
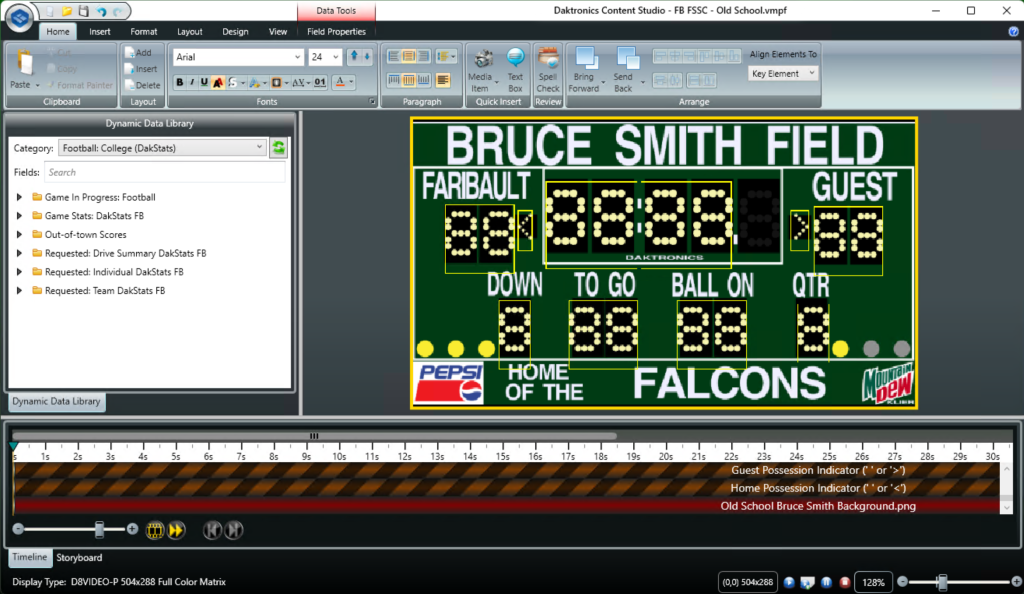
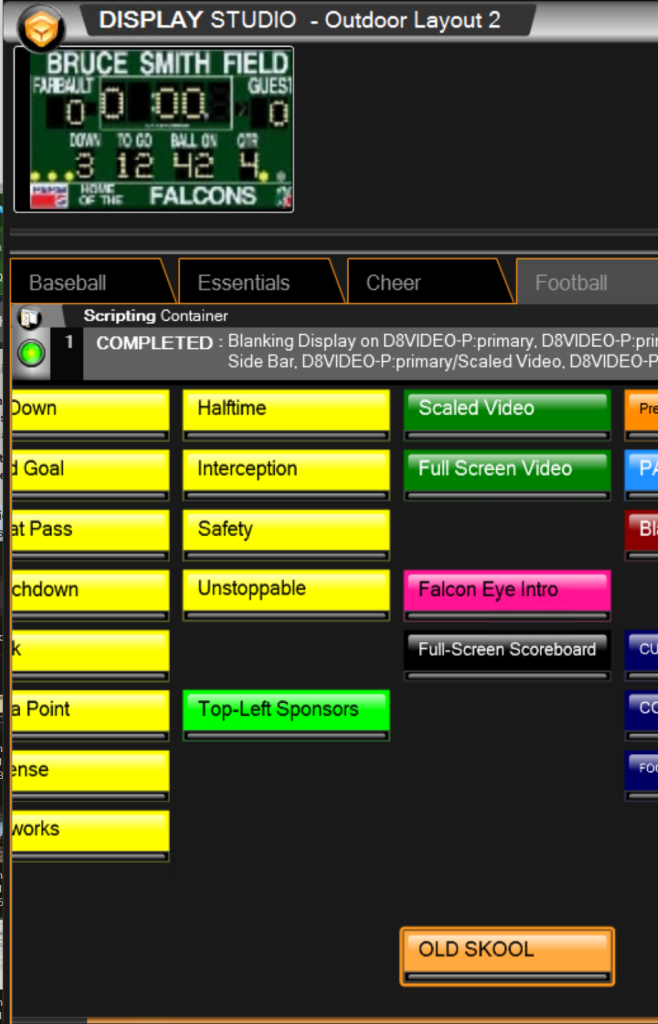
Here’s the results of a few hours in Daktronics Content Studio (and a single call to tech support to help load a font into the DMP-8000). The old scoreboard, a scratch-designed Photoshop PNG of it, the field setup in Content Studio, the Display Studio button, and (almost) finished product. Since the actual board pictures were taken, I made sure each number tile background has the dark-grey “off” eggcrate background if a particular “bulb” isn’t lit.
There’s still a little cleanup on the game clock, but I think this will be perfect for a nostalgic feeling on any “retro” ballgame we may have in the future!
A fun side project I’ve been working on! Using the OBS Broadcaster, PowerShell, Batch Scripting, and a program that launches it all on a rotating time schedule!
Here is an example of how this all looks during a severe weather event:
Original Post:
The Rice County Skywarn Streaming Channel is now live!
Thanks for all your feedback regarding our Streaming Channel on Youtube! Hearing dozens of positive comments, and working out some kinks and adding some new functionality, it’s ready for full-time consumption!
This is YOUR local weather feed, perfect for the corner of your monitor, your tablet, your Google Home, or digital signage.
You’ll find:
– The latest Level 3 radar imagery (including velocity radar during time of severe weather) centered around Rice County, with storm reports plotted during severe weather events. – Scrolling weather alerts and weather forecasts straight from the National Weather Service, tailored for Rice County. – Current time, temperature, and rainfall storm totals and rain rate for Faribault displayed in the corner of the video. – Upper Midwest GOES-East Satellite Loop with Precipitation Depiction. – Local webcams showing current outdoor conditions (if you run a full-video webcam in Rice County and can offer an RTMP feed, we’d like to hear from you!) – Skywarn Activation Status – Pop-up alerts for extreme weather conditions such as Severe Thunderstorm Warnings, Tornado Warnings, and Blizzard Warnings. – Of particular interest to spotters, the Day 1 convective and mesoscale outlooks, including possibilities of tornadoes, severe hail, and severe wind conditions. – All over a bed of music, with old-school “Weather Channel”-style voice announcements (all mutable).
Besides a few national guys, NO ONE that we know of is doing this style of presentation, and we’d love to hear your input and ideas on how we can make this something you’ll enjoy on a daily basis. We appreciate your support!
I replaced an old Quantum SCSI hard disk drive in an Apple Mac SE FDHD this afternoon. A project long overdue! I needed to use the third-party Lido hard drive management and partition utility to get the Apple to recognize a non-Apple hard disk drive. Just as proprietary and “closed ecosystem” back then as they are today!
The Radioddity GD-88 is a neat, inexpensive new dual VFO analog/digital handheld transceiver. Since no codeplugs are publicly available for this transceiver that I have found, I made one based on the Anytone Codeplugs by Eric Ganske, W0EDG.
Check out the instructions and codeplugs at the link below:
Here’s a finished installation of Alpine’s iLX-F409 9″ Halo9 Multimedia Touchscreen Receiver w/ Bluetooth, SiriusXM, Hands-Free Kit, Android Auto, Apple CarPlay, HDMI in/out, and rear backup camera, in a 1988 Third Generation Camaro. The iLX-F409 is among a small handful of receivers that install in a single-din slot, have a permanent (non-mechanized) touchscreen, and support Android Auto.
For installation in a third generation Camaro, the following parts were acquired and installed: – Alpine iLX-F409 Halo9 Multimedia Receiver w/ Sirius Tuner: https://smile.amazon.com/gp/product/B… – Crutchfield Single DIN mounting kit for 82-92 Camaro (already had this per previous Kenwood receiver installation) – Parking Brake Bypass Module for Alpine: https://www.ebay.com/itm/265100742220 – Composite Backup Camera w/ Hidden Rear License Plate Mount: https://smile.amazon.com/gp/product/B…
The background wallpaper on the receiver is customizable, and the 80s retro cyan and magenta Camaro background was designed in Photoshop by yours truly.
Wiring Details that I noted on my car (yours could be different, so proceed with caution):
Alpine System Colors === Camaro Wiring Harness Colors
REMO (Blue/White) === Power Control terminal on amplifier AND Blue on Parking Brake Bypass REVERSE (Orange/White) === Light Green on Transmission (Reverse Switch on Gear Selector) and Red Wires on Backup Camera P.ANT (Blue) === Red (Power Antenna) PARKING BRAKE (Yellow/Blue) === YELLOW on Parking Brake Bypass ACC (Red) === Yellow (12v IGN switch) BATT (Yellow) === Orange (12v all the time) GND (Black) === Black (Ground) AND Black (Ground) on Parking Brake Bypass Green === Yellow Left Rear+ Green/Black === Dark Brown Left Rear- White === Light Brown Left Front+ White/Black === Light Grey Left Front- Gray/Black === Light Green Right Front- Gray === Dark Green Right Front+ Violet/Black === Blue Rear Right- Violet === Light Blue Rear Right+
=========
Parking Brake Bypass:
1 BLACK wire on Bypass to radios black wire (radio ground wire(-)) 2 BLUE wire on Bypass to BLUE/WHITE STRIPE wire ( remote turn on (+)) on Alpine Radio 3 YELLOW wire on Bypass to YELLOW/BLUE wire [Parking Brake(-)] on Alpine Radio only 4 GREEN wire on Bypass NOT CONNECTED
=========
Automatic Transmission Switch:
Left/Driver side of transmission body, 2 prong plug, underneath shifter. Dark Blue: +12v Ignition Light Green: +12v when in reverse (connect to REVERSE on stereo and red wires of backup camera)
Yup…that’s a 5 1/4″ Floppy Disk Drive, connected via USB to my computer. This board called a Greaseweazle reads the raw flux transitions from a floppy disk and recreates them as disk drive image files for modern computers. I just found disks full of music, sound files, and BASIC source code that I haven’t heard or seen since 1991, lost deep in formatted-over disks on an obsolete media that was impossible to read. Until now…If you have any IBM-PC formatted 5 1/4″ disks that might have some memories on them, I’m your guy.
Next, I need to work on reading old Apple ][ disks.
This is going to be so cool! I’ll have a training session tomorrow on this, and then I’ll be running this system live for the first football game of the year. Thanks to the Faribault Booster Club and all its sponsors.
For those of you that REALLY want to know the inner details behind my Vintage Light Display project, I made a technical overview video. You might be sorry you asked.
There was a reason that CBS and other television networks used these type of displays on game shows when they had bright studio lights to contend with. The light is piercing from these!
Tonight, I got 22 wires soldered on 22 pins to mate with a Molex connector on the back of each display. Both digits are now directly connected up to the relay board. The software I developed can display an arbitrary 2-digit number, and then count up or down from that number until it reaches 00 or 99.
This has been a cool project! I’ll probably try to make a more detailed video in the future on the parts I selected and how all this works together.
Check out how this display worked on “Classic Concentration” hosted by Alex Trebek in the late 1980s: https://www.youtube.com/watch?v=1izUPd87wmw
Initial Test of a Display Systems 19S-8 Vintage Eggcrate Display (Light Bulb Matrix), common to television game shows of the 1970s-1990s.
This is one of two Display Systems 19S-8 eggcrate displays that I purchased from Surplus Sales of Nebraska. I plan to integrate both into a working count up/count down timer powered by a ESP8266 microcontroller module and a couple of relay boards.
This eggcrate display uses a common 28 volt DC power source on one pin. Then, depending on which pin the ground is connected, will light each of one possible digit: 1, 2, 3, 4, 5, 6, 7, 8, 9, 0 and $. It’s also possible to display strange characters by connecting multiple grounds between pins.
I plan to use a single 150 watt 12 volt DC power supply to power dual boost controllers that will output the needed 28 volts. The 12 volts is still needed for the relay boards. The ESP8266 module will be connected to a 5 volt DC output from the relay board.
In both displays, I only needed to replace one lamp upon receiving them. The lamp is a common 1820 mini-bayonet style incandescent.
The sights and sounds of antique technology. I bought a new ribbon off of Amazon to see if that’s the only thing that was needed to bring this old ImageWriter II to life.
This is a fully operational Apple IIgs with a 5 1/4″ and 3 1/2″ floppy disk drive, color monitor, and ImageWriter II printer. The software running is “The Print Shop” by Broderbund.
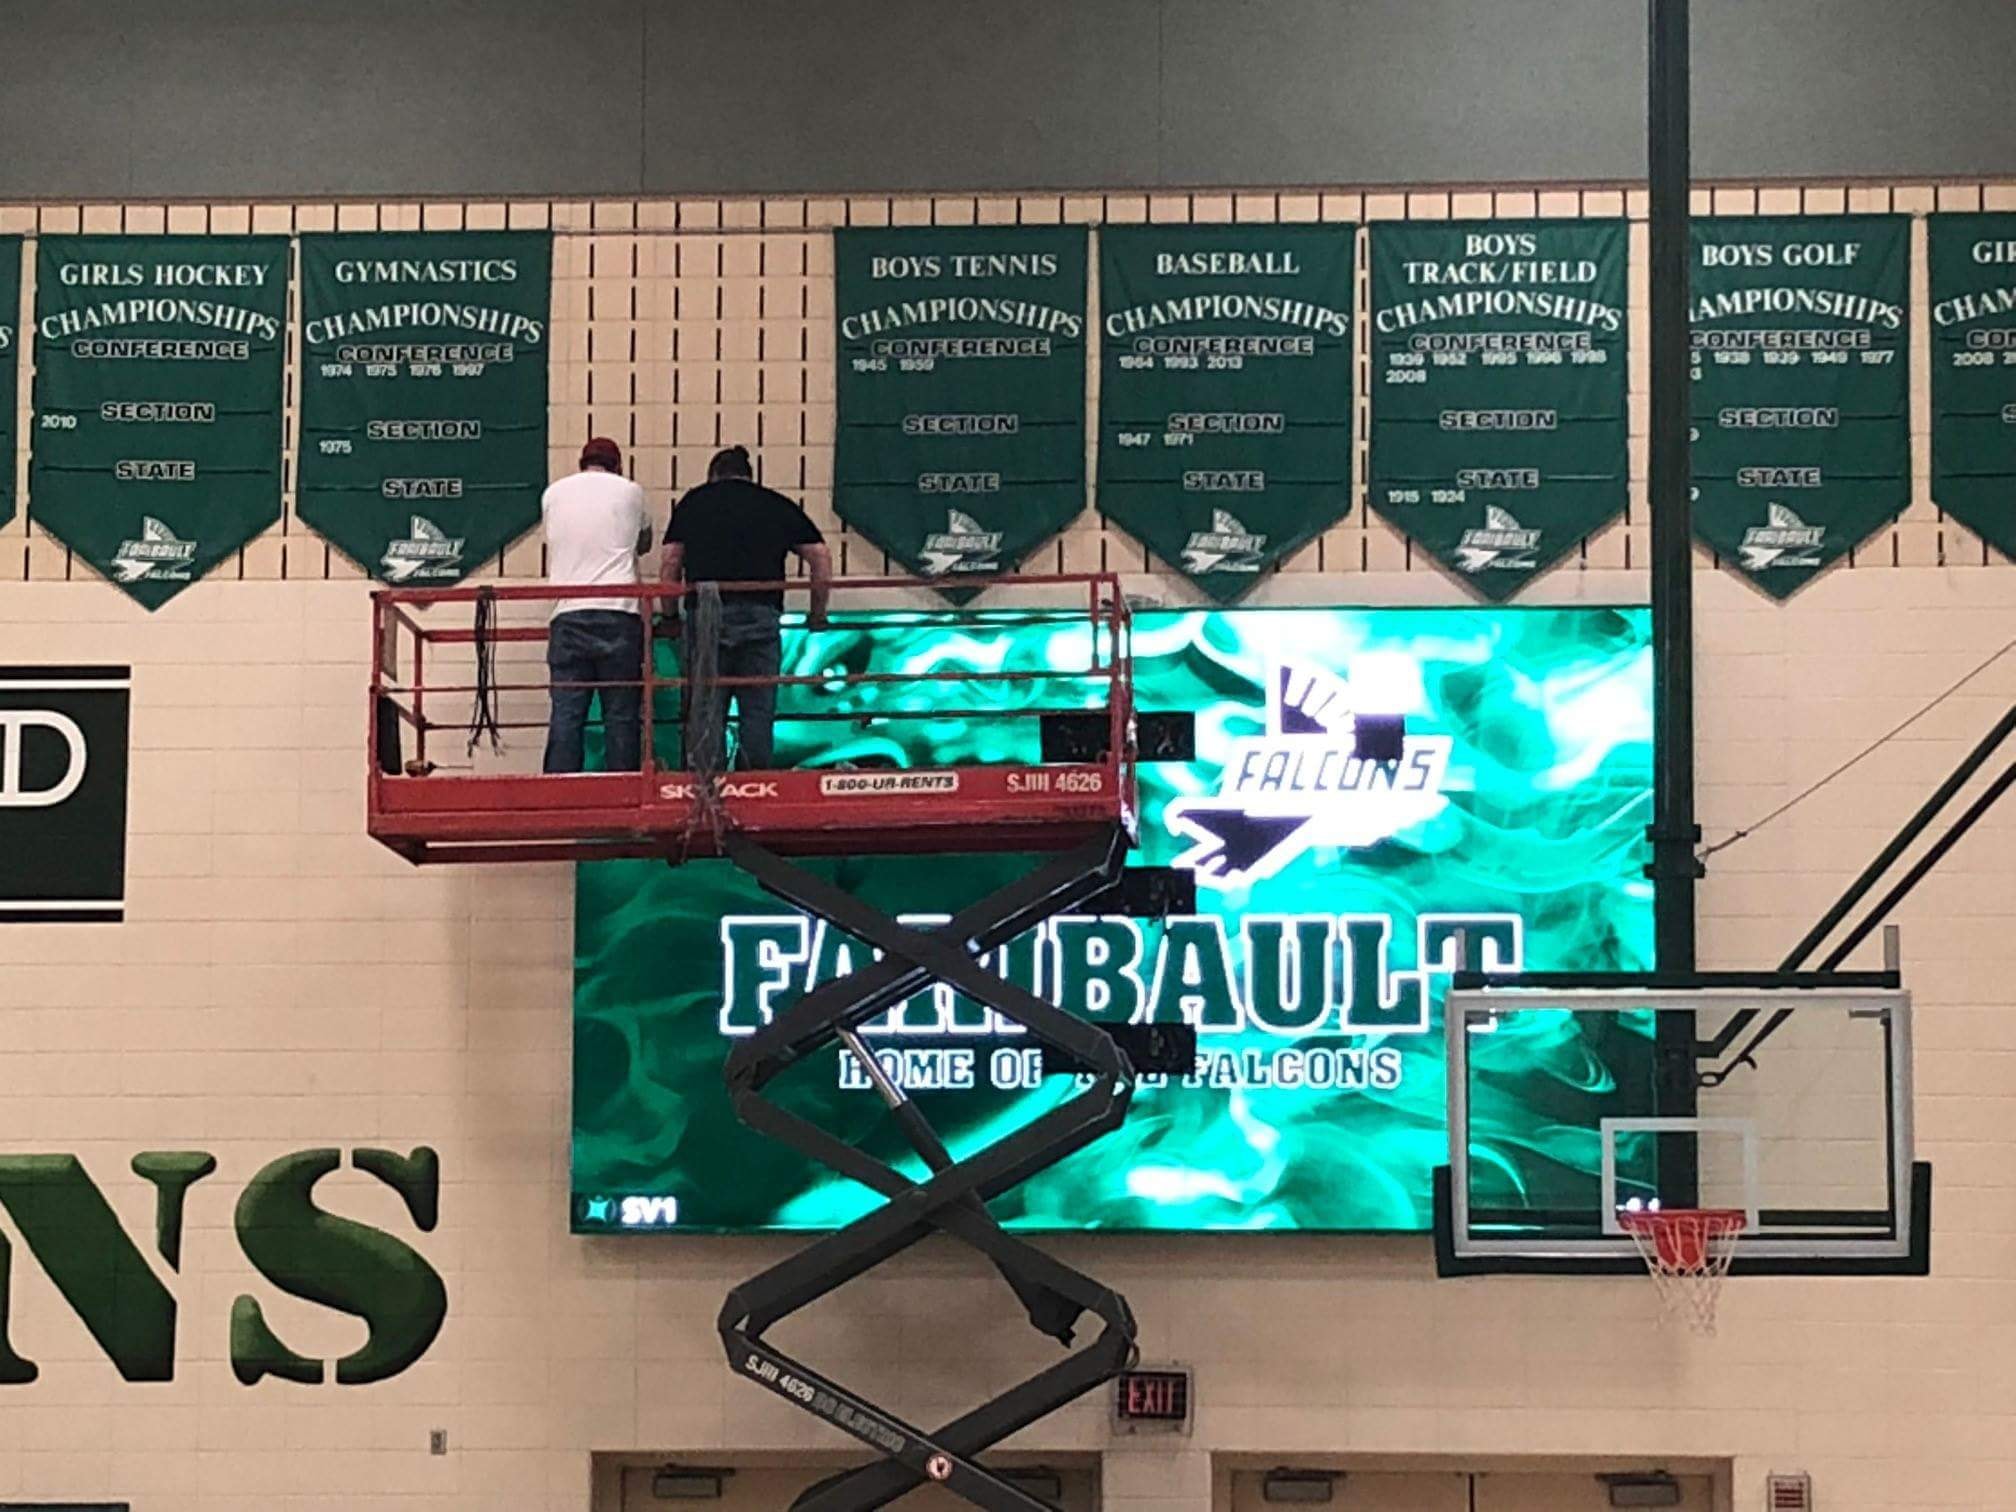
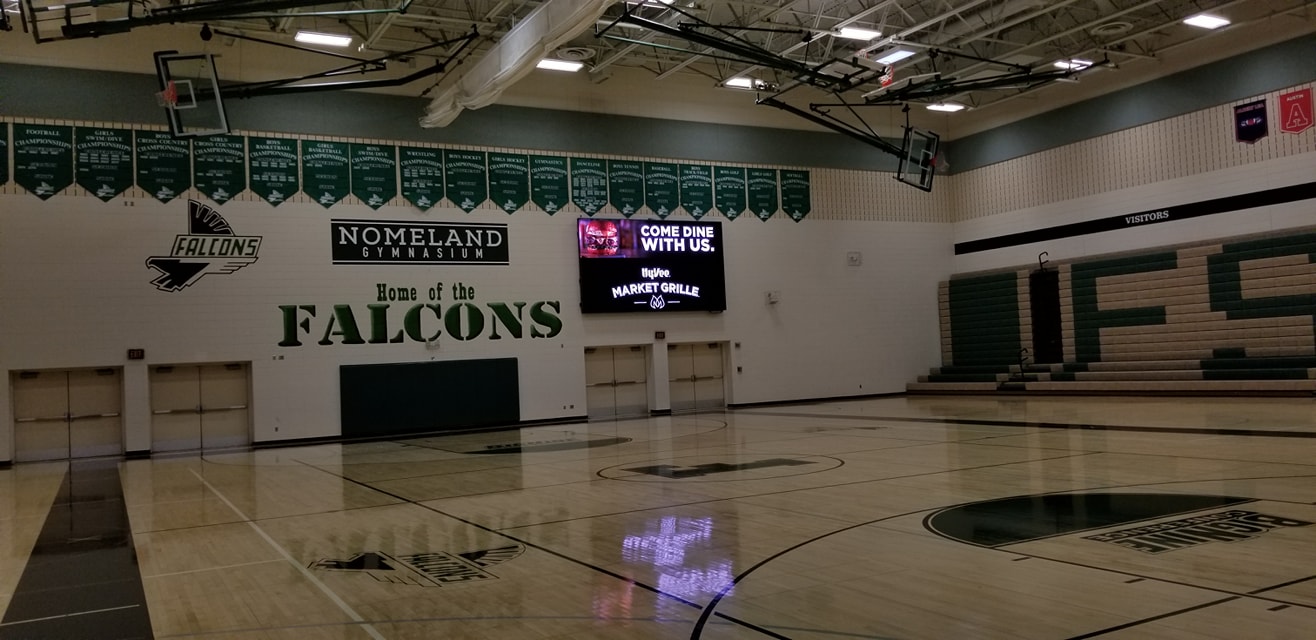
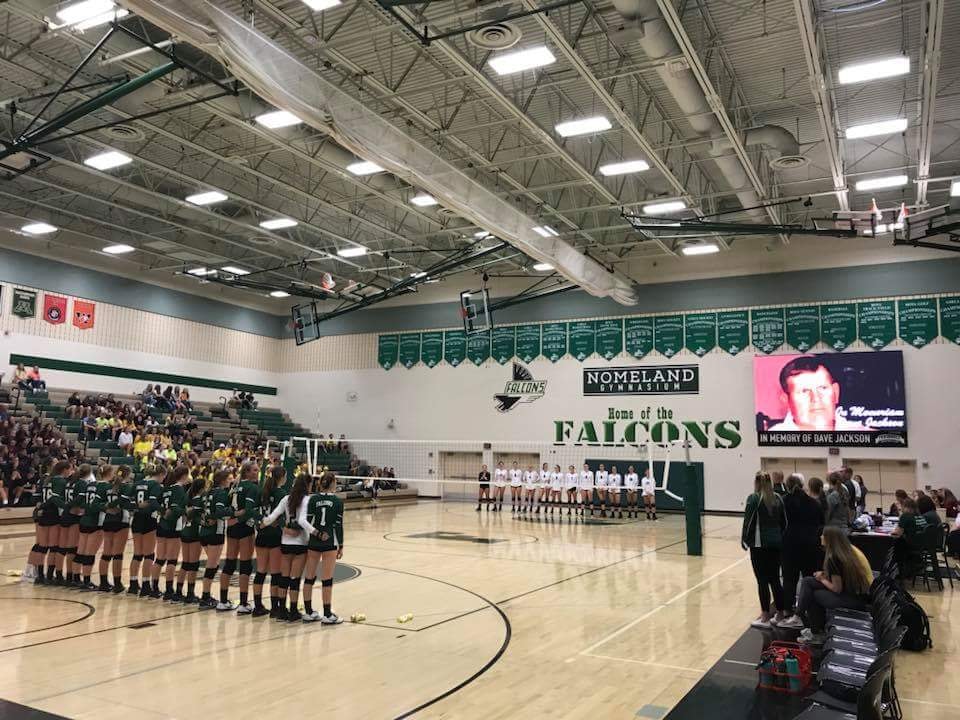
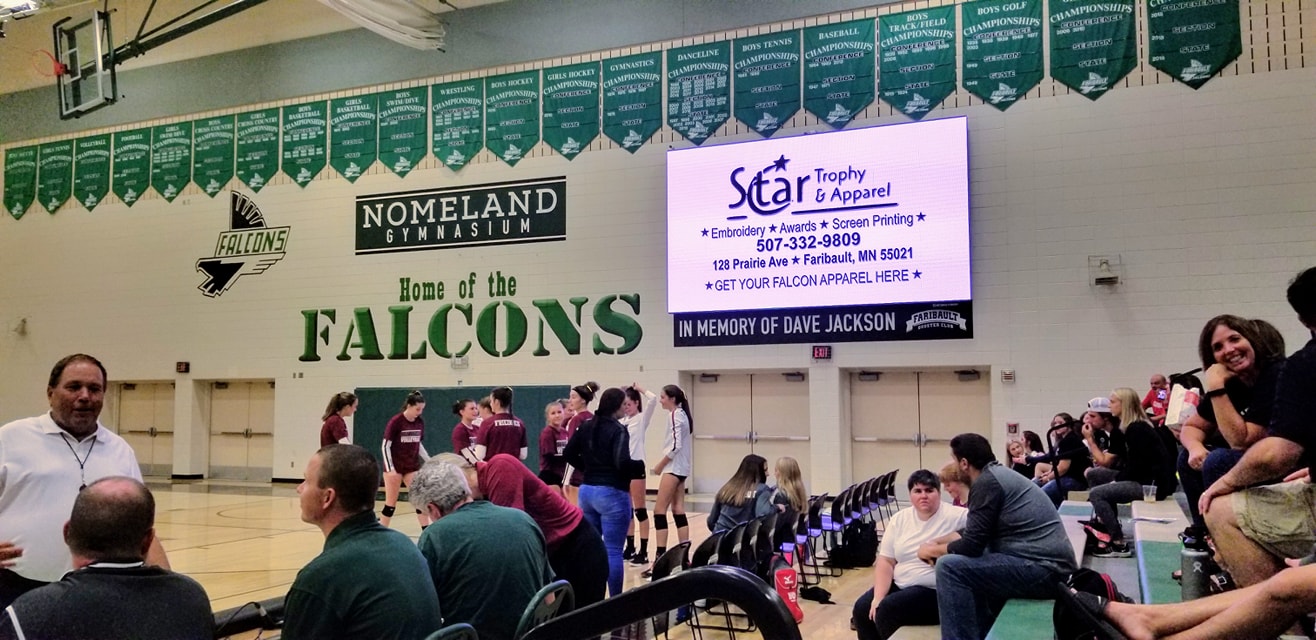
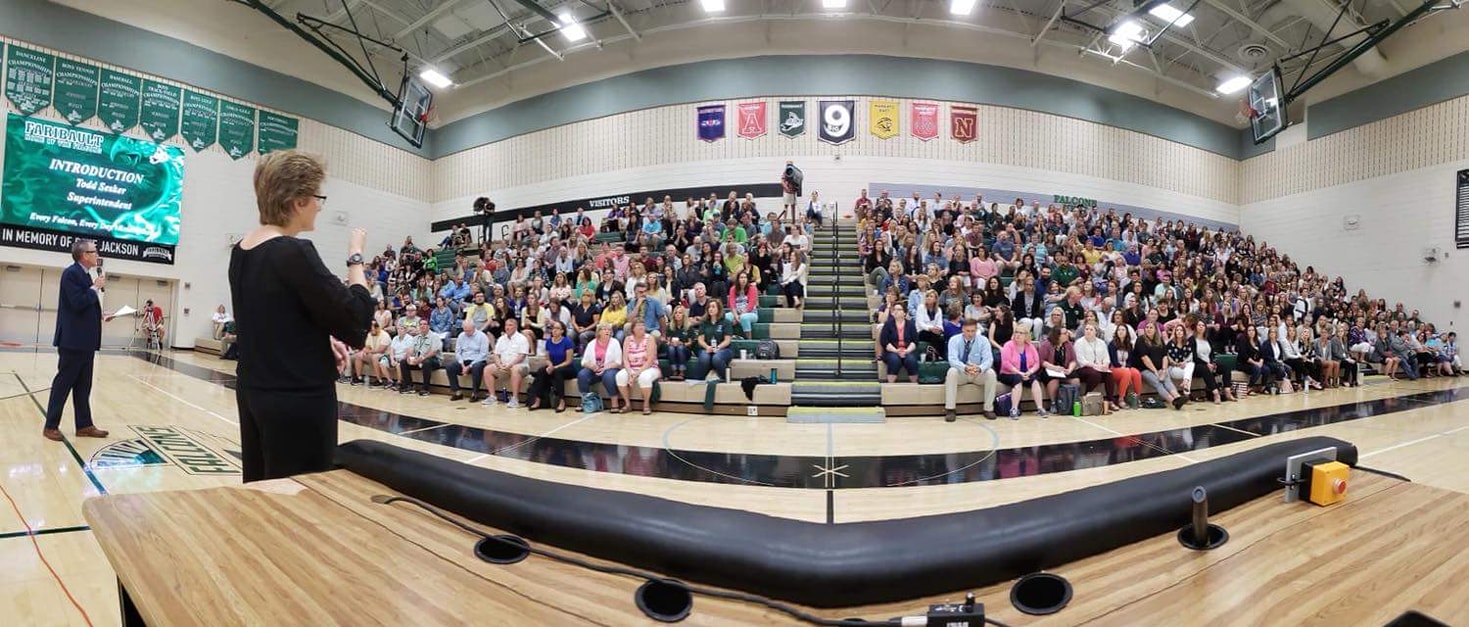
Since the time these high-resolution LED displays were installed in the Nomeland Gymnasium at the High School, I’ve been spending much of my spare time designing graphics, sponsor advertising, and program workflow for the system. It has already been used successfully for several volleyball matches, 9th grade orientation, and now an all-staff District workshop. The variety of technology I get to work with is one reason I love my job and this field!
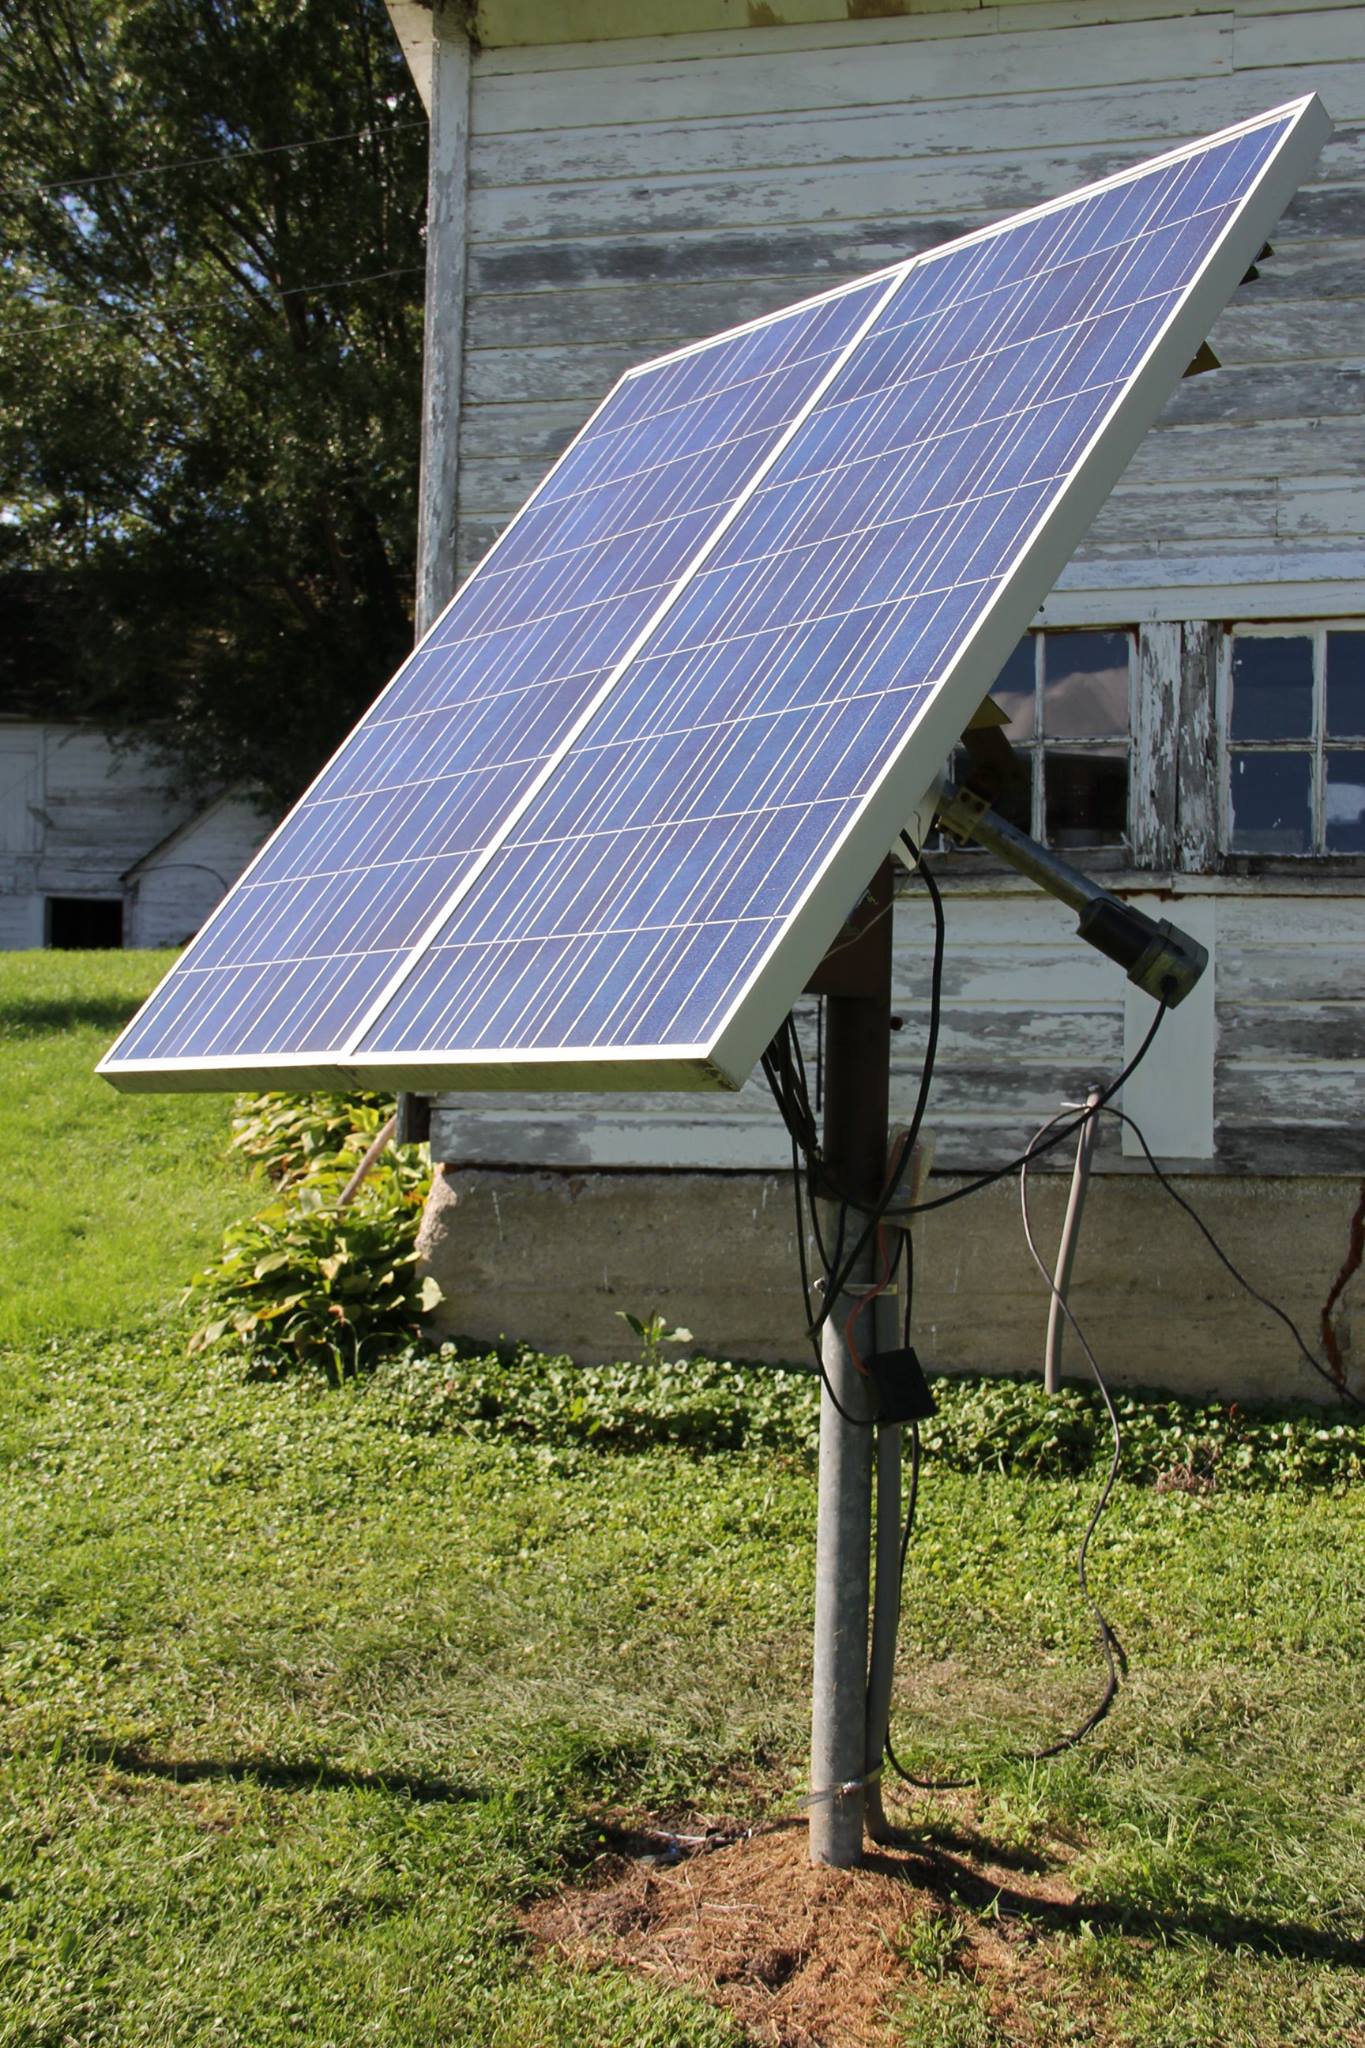
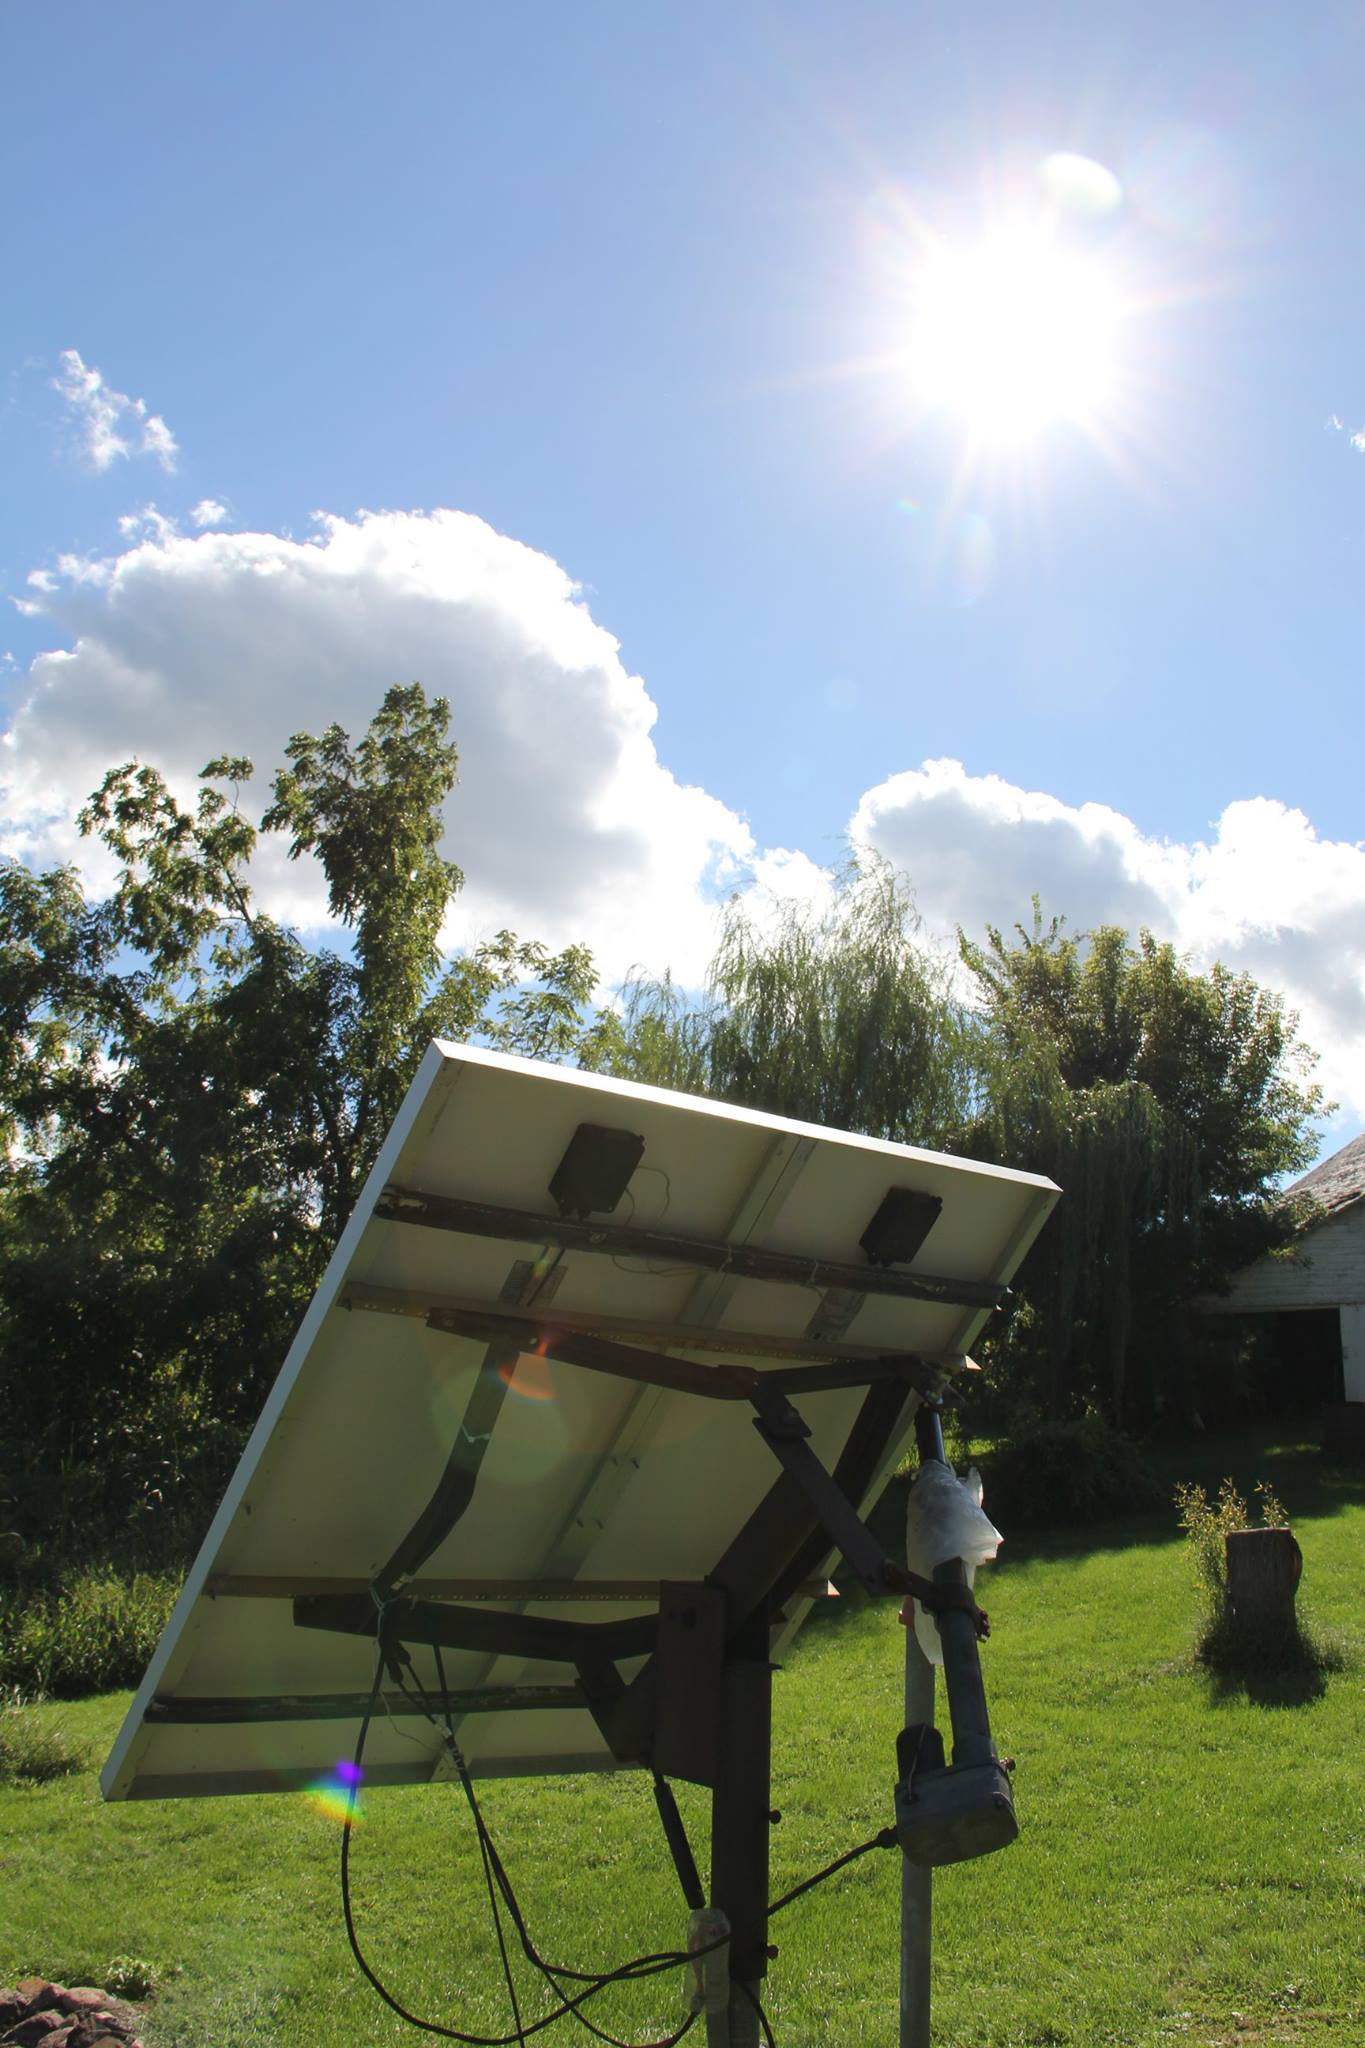
It was a bright, sunny day, so why not build a homemade solar tracker? Solar trackers help solar panels always point at the sun as the sun moves from east to west across the sky. They slightly improve efficiency of panels connected to them.
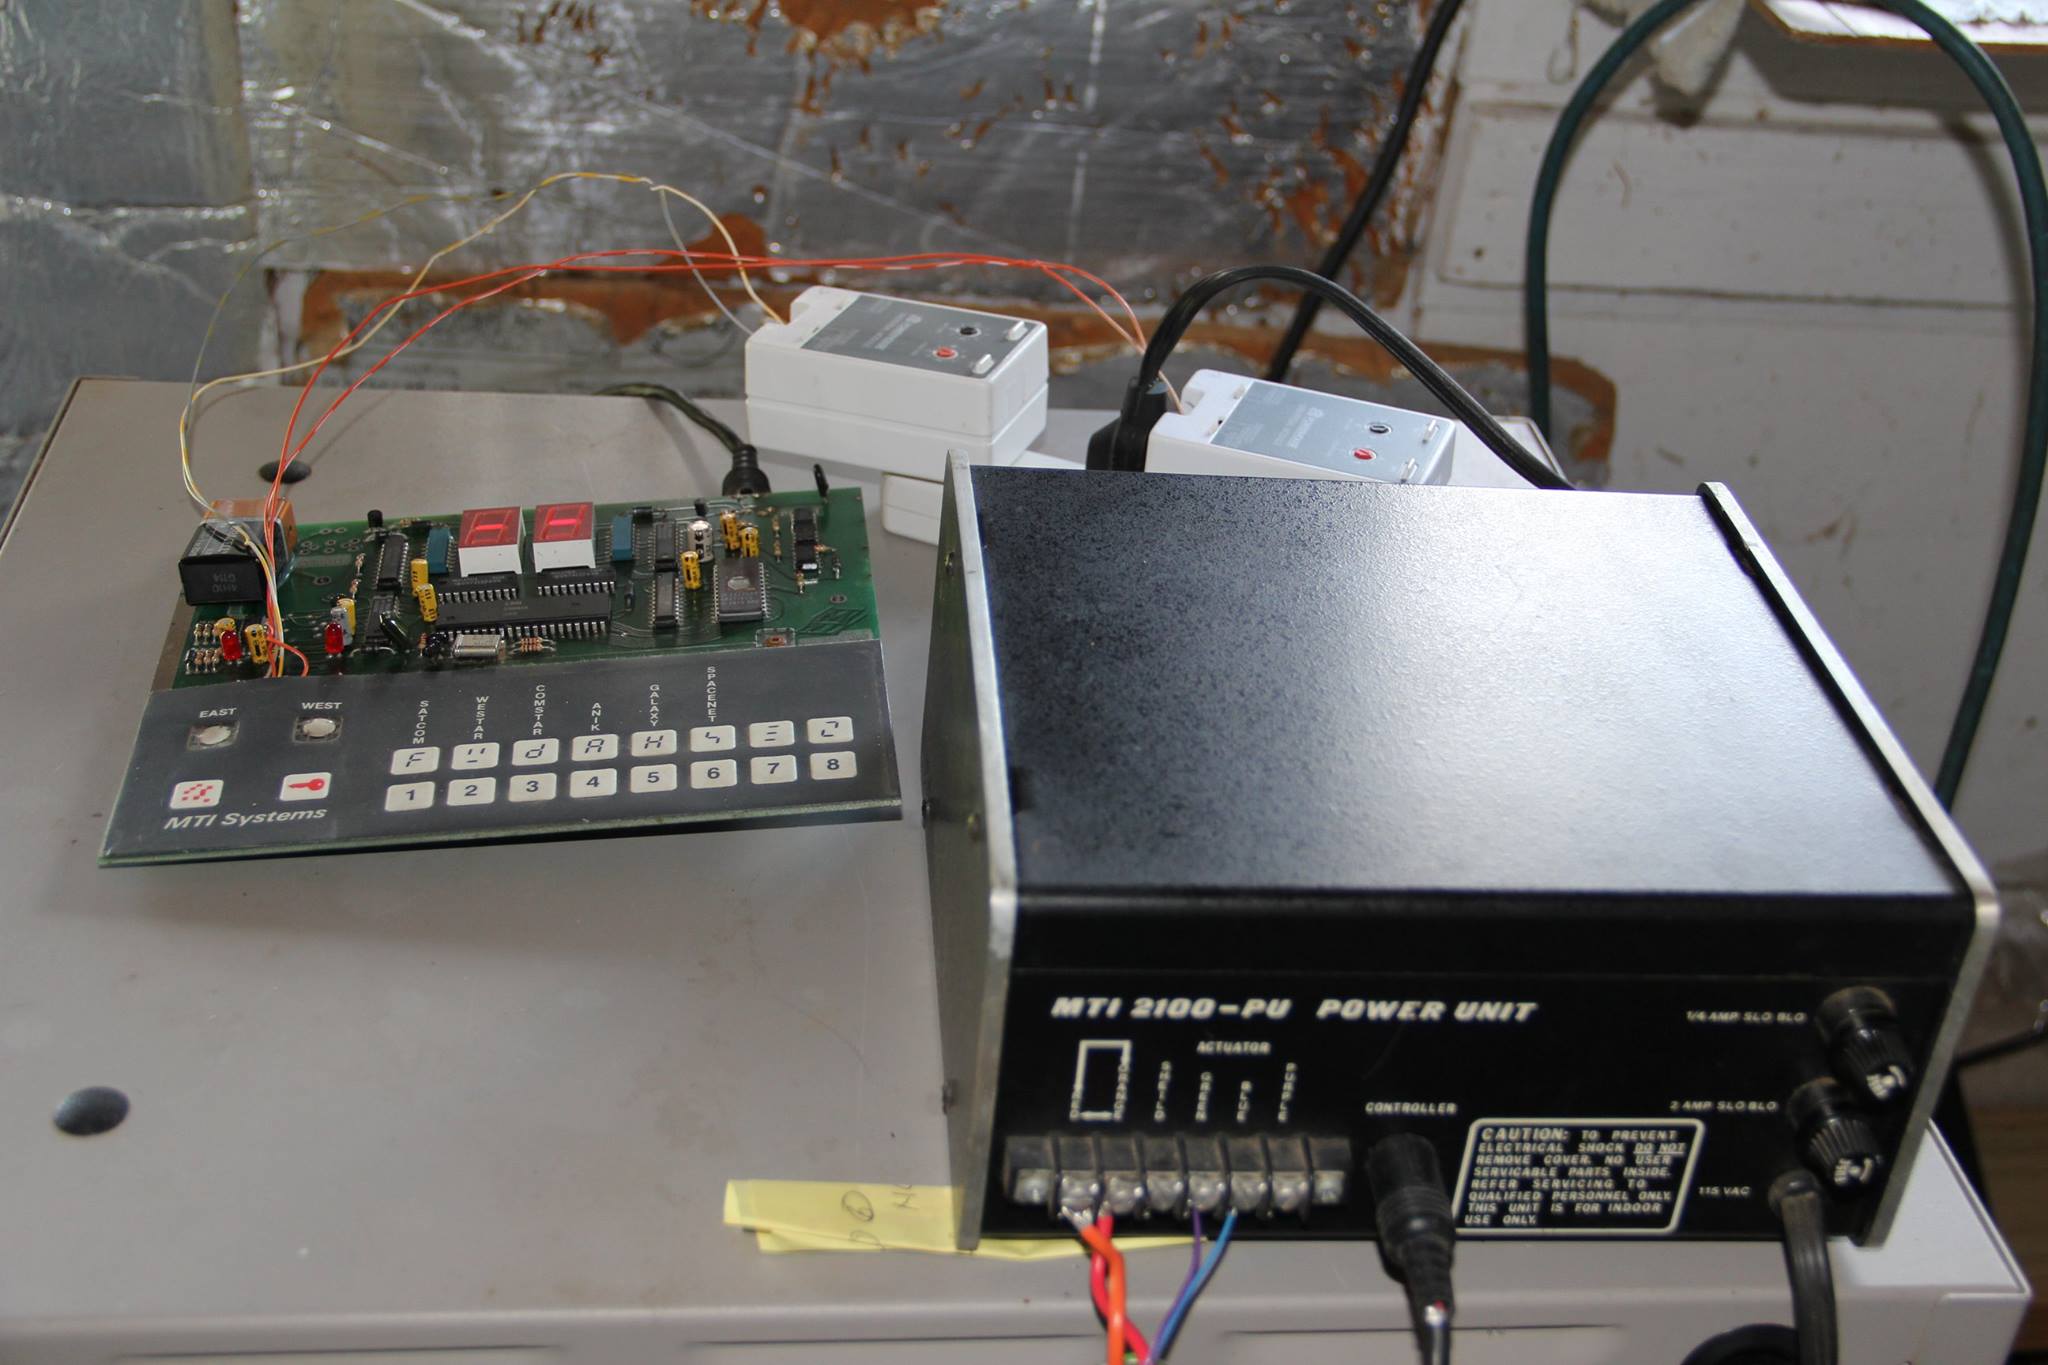
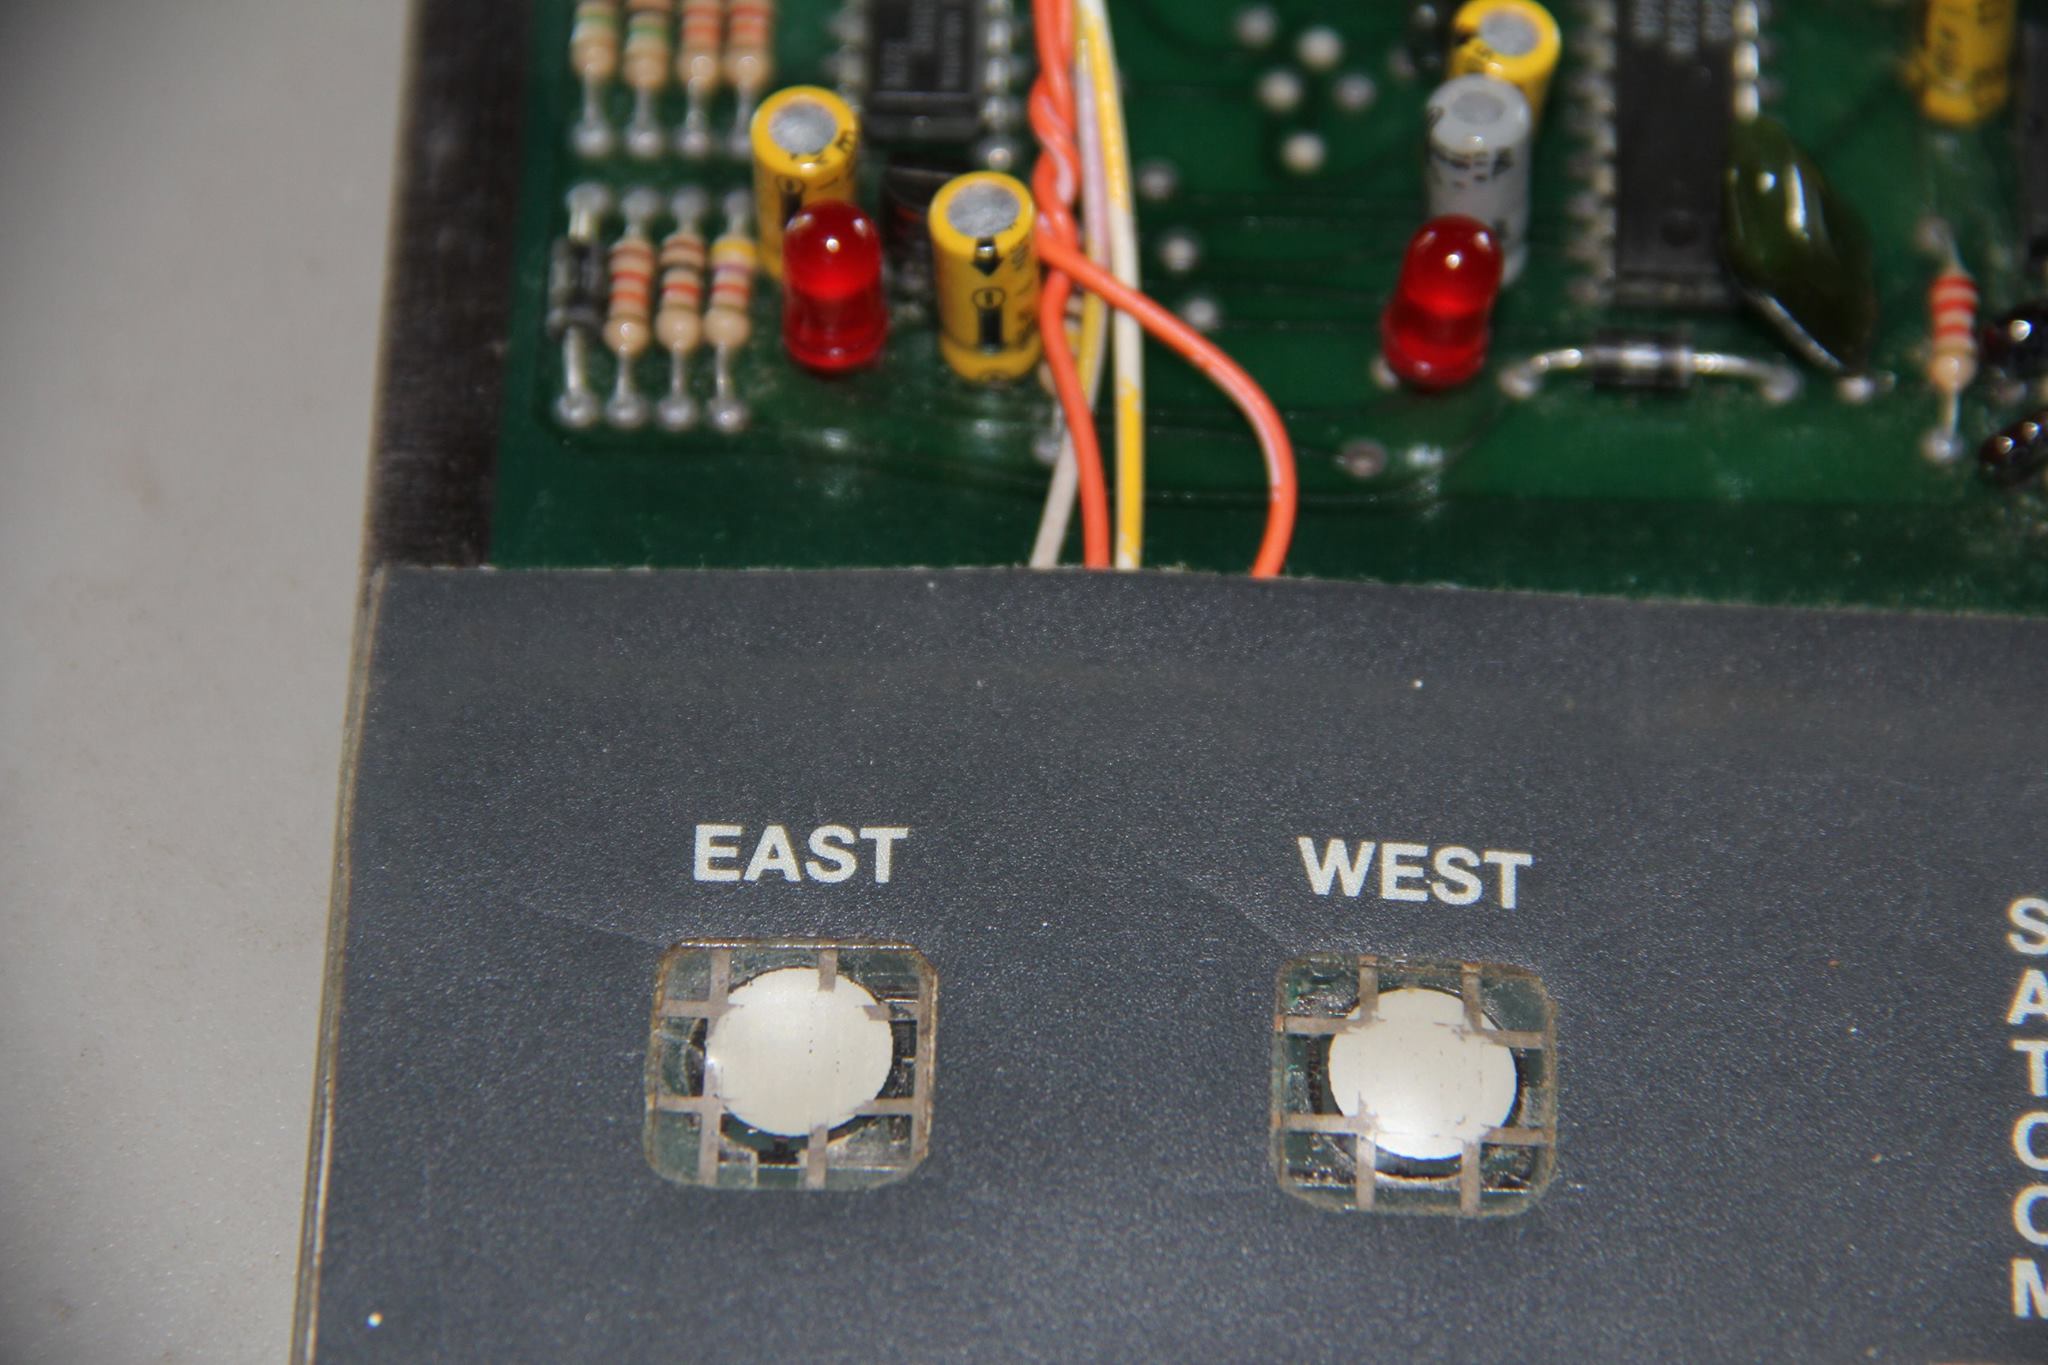
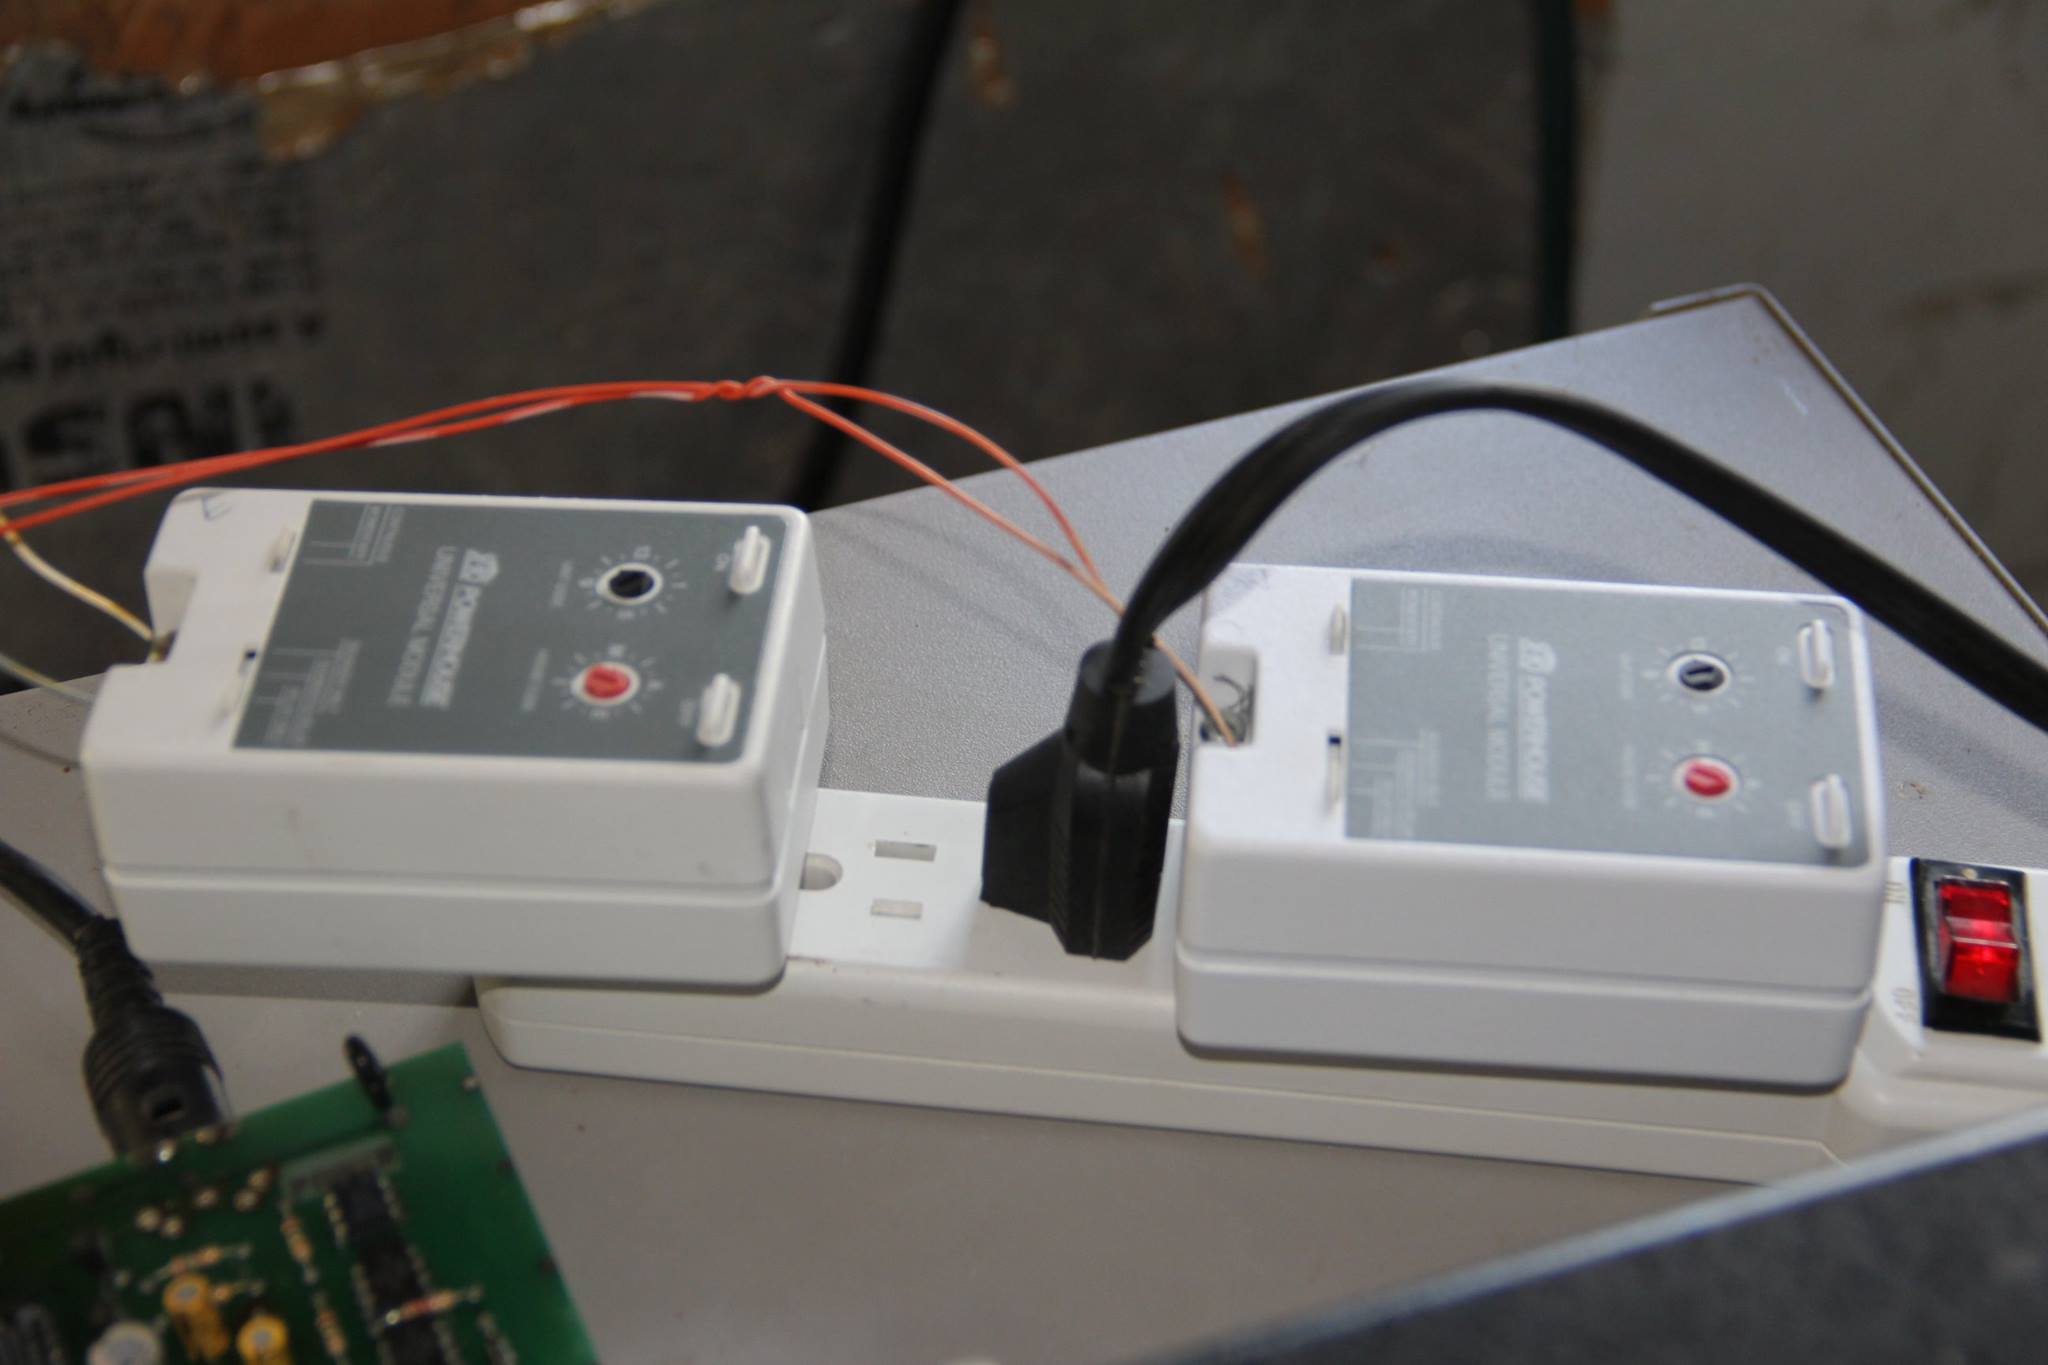
We took an old “C-band” satellite rotator and controller, and soldered some wires up to the “east” and “west” movement buttons to give us a couple of dry contacts that we could control with electronics. We chose (2) X-10 Universal Modules which momentarily close the dry contacts when a signal for it comes down the powerline (which a computer can control). One module for east, one module for west. The contacts short for about a second and a half with every ON command. Starting at the east-most side, 18 WEST ON commands make it go to the extreme west-most side.
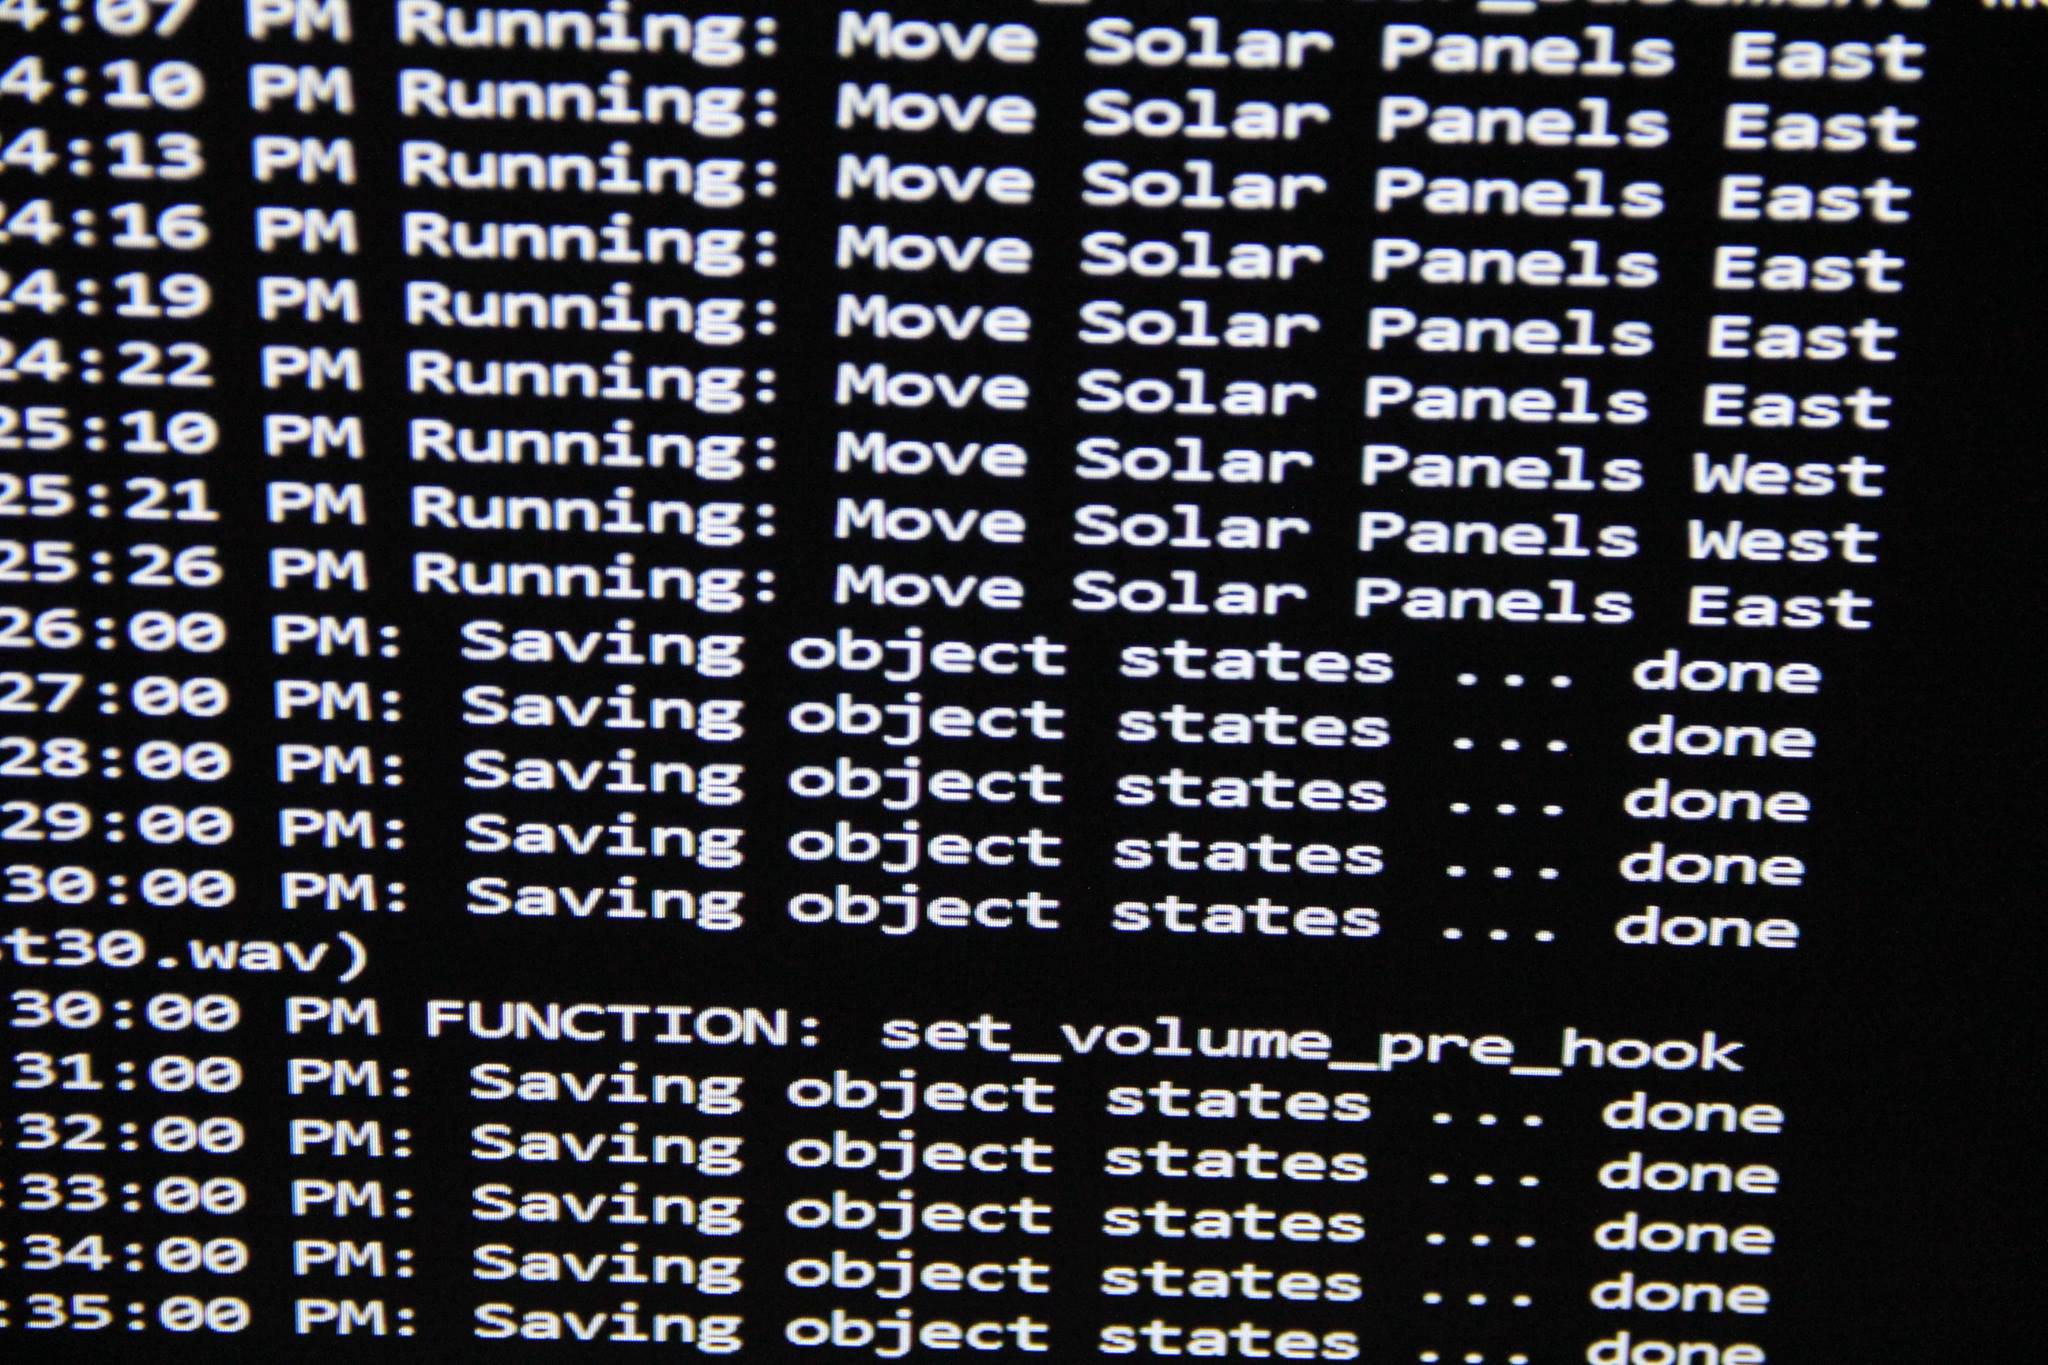
After verifying the modules worked properly, it was then time to start writing code! After calculating the number of possible minutes of sunlight after subtracting the Sunrise time from Sunset time, we took the result and divided by 18 to find out how many minutes between ON commands. It is this interval (45 minutes right now) that the rotator will move west. At the end of the day when the rotator is at its west limit and the sun sets, the rotator will turn all the way back to the east limit to prepare for the next day.
This was a pretty fun project to conceptualize and put in to operation in a single day. The jury is still out on whether or not the extra energy produced will offset running the rotator, especially on non-sunny days.
During much of 1991, the SouthLAN and MNWADA Packet Radio Clubs in Southern Minnesota planned and designed 3 high-speed packet radio nodes to be installed at Apple Valley, Faribault, and Dodge Center. The Faribault site, MNFBL:N0QVC-1, would have a 1200 baud user frequency on 145.01 MHz, a 9600 baud backbone towards Dodge Center on 430.95 MHz, and a 19.2 kilobaud backbone towards N0DAI-1 in Apple Valley on 430.55 MHz.
This was one of the first high-speed amateur wireless data communications services in the upper midwest, and passed hundreds of messages between the Twin Cities Metro area and Rochester, MN throughout the 90s and early 2000s. All locations used WA8BXN’s MSYS bulletin board system and G8BPQ nodes, with a combination of Kantronics Data Engines and D4-10 radios. The N0QVC-1 Johnson RSDL VHF radio is still used as an APRS node on 144.39 in the Faribault area at this location as of 2016.
The video is a glimpse of the antenna and TNC install at the Faribault location on May 23, 1992.